Lemon Love

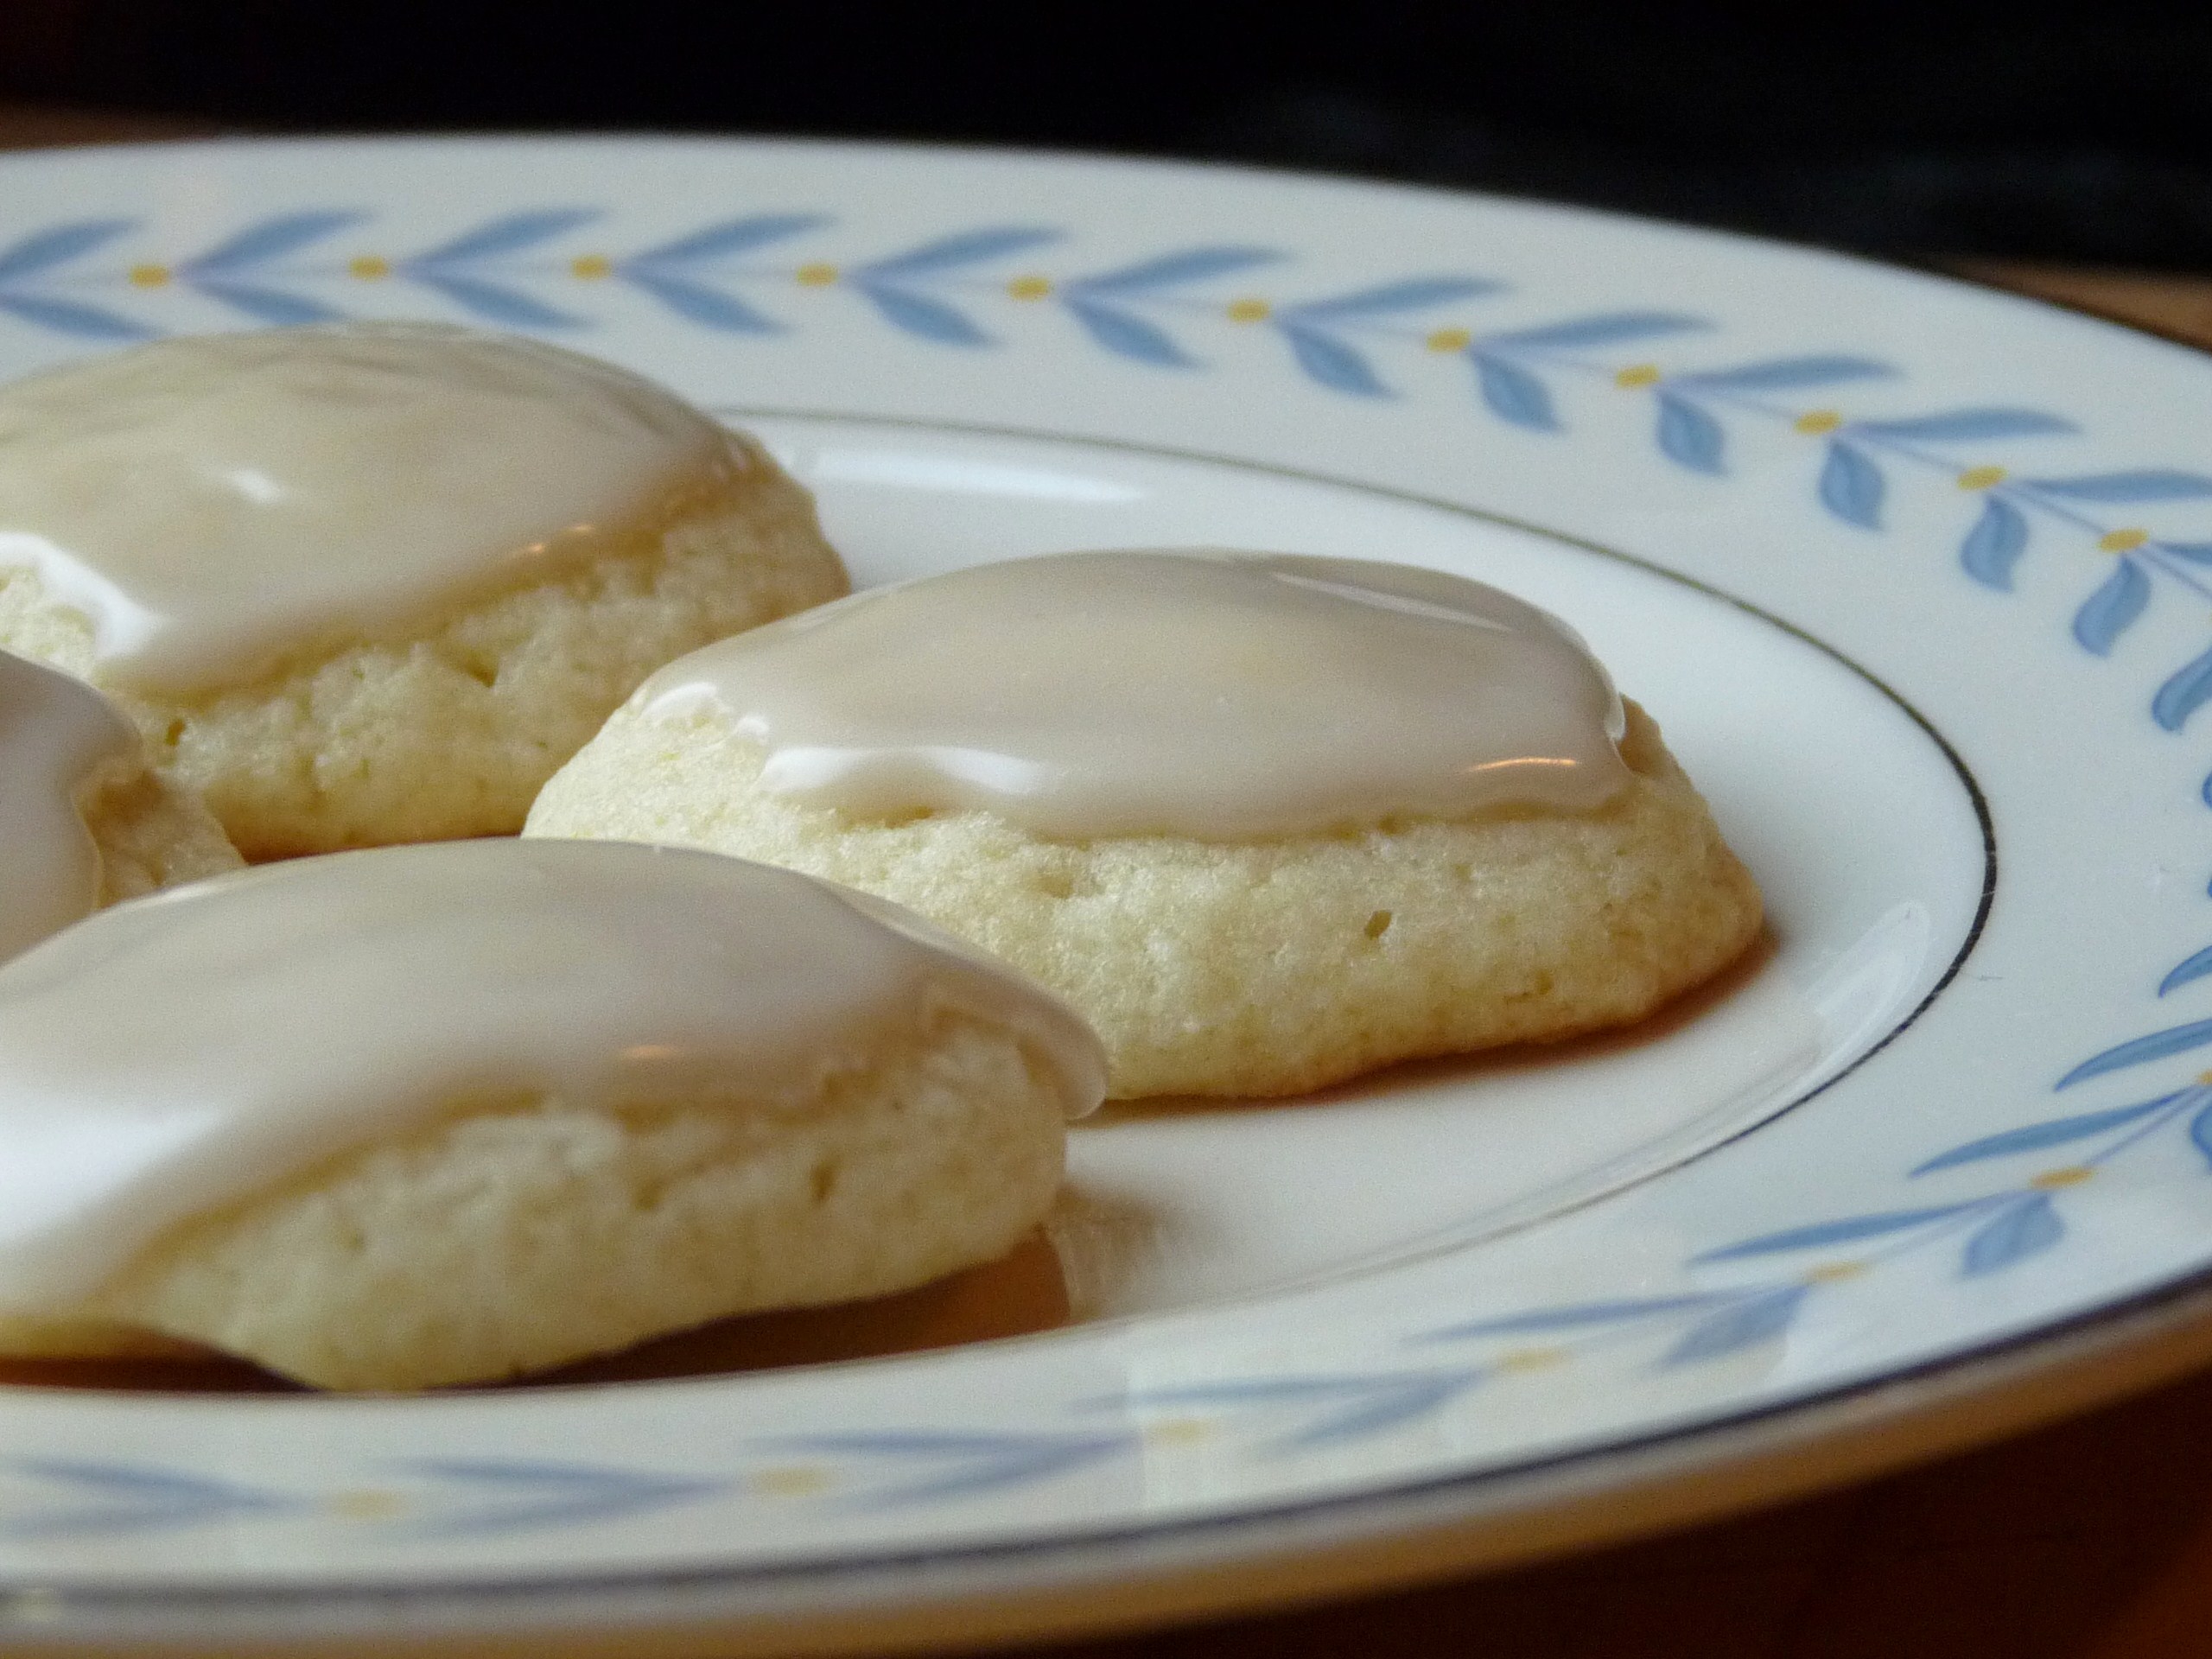
lemon buttermilk cookies

November 24, 2010

I like finding excuses to make cookies.

I especially like it when a good reason to make some coincides with some really nasty weather. Bad weather means there is no reason to be outside and several reasons why it makes sense to stay inside and bake cookies.

Do you need some reasons? How about because if you go outside you might slip and break a leg on the black ice. That could happen. You also might get frost bite in the cold. Okay, maybe we’re not quite at frost bite temperatures yet, but if you don’t have gloves on then – whoo! – you’re legitimately crazy.

Here’s another reason: baking these cookies will fill your house with warmth and a lemony, buttery scent like none other. Guess what? Bonus! You get to eat some at the end of it all.

My great excuse for making these was a pre-Thanksgiving family get-together (the black ice and horrid temperature were also real) and cookies seemed like a great bet. Baking cookies for family is a pretty great way to give thanks in my opinion.

This recipe was originally published in Gourmet as simple Buttermilk Cookies and featured a little less lemon zest – just enough to scent them. This version ups the zest to make them ever so slightly lemony in flavour, although next time I think I’d add even more!

They’re cake-y, light and fluffy, with just a little crunch at the edges. They’re also bite-sized and dinky – it’s super easy to accidentally eat eight in a row. Not that I would know anything about that.

Lemon Buttermilk Cookies

adapted from Orangette

Ingredients

For the cookies:

  • 1 ½ cups unbleached all-purpose flour
  • 1 tsp. grated lemon zest
  • ¼ tsp. baking soda
  • ¼ tsp. salt
  • 6 Tbsp. (3 oz.) unsalted butter, at room temperature
  • ¾ cup granulated sugar
  • 1 large egg
  • ½ tsp. vanilla extract
  • 1/3 cup well-shaken buttermilk

For the glaze:

  • ¾ cup confectioners sugar, sifted
  • 1 ½ Tbsp. well-shaken buttermilk
  • ¼ tsp. vanilla extract

Directions

  1. Line 2 large baking sheets with parchment paper or silicone liners. Preheat the oven to 350°F.
  2. In a medium bowl, whisk together the flour, zest, baking soda, and salt.
  3. In a large mixing bowl, beat the butter briefly, until creamy. Add the sugar, and beat until pale and fluffy. Add the egg, and beat well to mix. Add the vanilla, and beat briefly again. Slowly mix in the flour mixture and the buttermilk in batches, beginning and ending with the flour. Scrape down the sides of the bowl with a rubber spatula as needed. The finished dough should be smooth and pale yellow.
  4. Drop the dough by level tablespoons onto the prepared baking sheets, leaving about 1 ½ inches between each cookie. Bake, 1 sheet at a time, until the cookies are puffed and their edges are golden, about 11 to 15 minutes per batch. Cool the cookies on the baking sheet for 1 minute; then transfer them to a wire rack.
  5. To prepare the glaze, whisk together the sifted confectioners sugar, buttermilk, and vanilla. The mixture should be very smooth, with no lumps of sugar visible. Brush or spoon the glaze onto the warm cookies. Allow cookies to sit on the rack until they are fully cooled and the glaze is set.

Note: These cookies are most tender and delicate on the day they’re made, but they’re not bad after a day or so. They just get more dense and chewy – a little different, that’s all. And for longer storage, they can be stashed in the freezer in an airtight container.

Yield: about 40 small cookies


Happy Friday! I am pretty over the moon that the weekend is upon us. No road trips to fun destinations this weekend though! I have gloriously got nothing planned. I think it’s meant to be getting disgustingly humid again though so that might mean abandoning my un-air conditioned apartment in favour of the beach. Who knows. I’m pretty sure we’ll use the grill, I can tell you that much!

Know why I’m so certain? We’ve used it almost every day this week. Including for this puppy:


That Pioneer Woman, eh? She knows how to cook up a storm. I mean honestly! This dish is ridiculous. It’s rich, fresh and tangy. Oooh and it has barbecued chicken in it. That happens to have been marinating for twenty four hours in some deliciousness. All reasons to love it more.

I changed it up a bit and used only half and half instead of including heavy cream. When you rarely cook with creamy sauces, stuff like this can taste overwhelming rich. Also, it was 95 degrees and humid as hell outside so we really weren’t craving the cream.

It tasted beautiful like this but next time I would ease up on the lemon in the sauce a little or just go all out with the heavy cream which I suspect would even out some of the tang. And whilst I would say the half and half (or cream) is essential, the stars for me really were the fresh basil and lemon. Such a delightful kick.


Marinate it tonight, make it tomorrow, okay? If you’re following me on twitter you’ll know that Dan butchered a whole chicken the other night and these breasts are the product of that fun.

Fun tip
: buying a whole organic local chicken and butchering it yourself is waaaay cheaper than buying chicken breasts that have been de-boned and skinned for you. We’re talking $7 for two of said breasts and only $8 for the whole chicken! Winner.

Grilled Chicken with Lemon Basil Pasta

adapted from The Pioneer Woman

Ingredients

  • 2 whole chicken breasts
  • 1/2 pound penne pasta
  • 1/4 stick butter
  • 1.5 whole lemons, juiced
  • 1/2 cup Half-and-half
  • 3/4 cup Parmesan, grated
  • Salt and freshly ground black pepper
  • 10 whole basil leaves, roughly chopped

For the chicken marinade:

  • Olive oil
  • Juice of 2 lemons
  • Dijon mustard
  • Drizzle of honey
  • Dash of salt

Directions

  1. Pound chicken breasts until they are uniform in thickness and marinate them for 24 hours in above concoction.
  2. Grill them up, slice them and set them aside (kept warm).
  3. Cook pasta according to packet instructions til al dente, reserving 1 cup of hot pasta water when you drain. Set pasta aside in a colander.
  4. In the same pot, melt butter over medium heat. Squeeze in the juice of 1 and a half lemons. Whisk together. Pour in half-and-half. Whisk until hot. Dump in cheese and whisk until melted. Add salt and pepper. Check consistency, adding some of the hot pasta water to loosen the sauce if needed.
  5. Once the pasta/sauce is perfect, give the basil a rough chop, and add half of it to the pasta. Stir it together.
  6. Pour pasta and sauce into a large serving bowl. Sprinkle remaining basil all over the top, then add sliced chicken breasts. Garnish with lemon halves if you like. Serve immediately!

In other news, did you know it’s National Farmer’s Week? Get thee to the market this weekend! Apparently I celebrated a couple of weeks early with this stash of farmer’s market recipes…

> blueberry crumb bars
> zucchini and olive french breakfast cake
> rainbow chard, summer squash and blue cheese tart [slight fail…]
> basil pesto

Have you butchered a chicken before?
Not going to lie, I was very much the spectator in this show. However much I’m into knowing where my food comes from, it grosses me out a bit to actually be the butcher!

What fun plans do you have for the weekend?


Lunch. I look forward to it so much everyday but it can be hard to think up new, exciting and healthy options everyday. That’s why I love making a massive batch of something and having some everyday.

In the winter, it’s easy: soups and stews! You make a giant batch and have some one day with a green salad, the next with some bread and butter, and so on.

Summer is a wee bit different. The solution? Grain salads. The emphasis is on grains because in my opinion there’s no easier way to beef (ahem) up a salad and make it properly filling than by adding in a magical grain. Beans and other legumes work too, of course but I’m sticking to grains here.

And no, I’m sorry, but lettuce, avocado and tomato a filling lunch does not make!

Here is an option that you can make ahead at the start of the week without fear of wilting or any other such nonsense.

Lemon Grain Salad with Asparagus, Almonds and Goat Cheese
adapted from The Kitchn

Ingredients
serves 6

  • 8 ounces uncooked wheatberries
  • 3 cups water
  • 8 ounces uncooked couscous
  • 1 3/4 cups water
  • 1 pound asparagus
  • olive oil
  • 1 cup sliced toasted almonds
  • 4 ounces soft goat cheese, chilled and crumbled
  • 2 lemons, zested and juiced
  • 1/4 cup olive oil
  • 1 tablespoon walnut oil
  • Salt and pepper

Directions

  1. Cook the wheatberries in a large saucepan over medium heat, about one hour. Keep cooking and stirring until the grain is al dente and dry with no water remaining to be absorbed.
  2. Meanwhile, simmer 1 3/4 cups water in a small saucepan. Add the couscous, stir, cover and turn to low. Simmer for about 15 minutes, then remove the lid and cook, stirring, until any remaining moistness evaporates. Mix the two cooked grains in a large bowl and set aside.
  3. Snap off the ends of the asparagus and cut each spear into a 2-inch piece. Rinse out the large saucepan and dry. Heat a little olive oil over medium heat, and cook the asparagus until just barely crisp-tender – about 1-2 minutes. Add to the grains and toss.
  4. Also toss in the sliced toasted almonds, goat cheese and lemon zest.
  5. Mix the lemon juice with the oils, taste, and adjust. Pour over grain salad and toss, along with salt and pepper to taste.

This salad lasts very well in the fridge; perfect for multiple weekday lunches!

What’s your favourite summertime big batch lunch recipe?