Yesterday, the forecast was for snow in Minneapolis. As I’m typing this we’ve dodged that particular bullet but I can’t tell you how disheartening it is to hear such rumours after the couple of weeks of sunshine we had earlier this month. The winter coat had been left swinging lonely and dark on its hook, winter snow boots were replaced with delicate flats, and I started walking down to the lake on my lunch breaks with a sandwich in my hand. The change in weather makes me want to scream at the sky, “It’s almost bloody May!

What I’m trying to do instead is not let it get to me (harder than you’d think) and reminding myself that it will be here soon. Spring will arrive.

If you’re trying to channel spring – or if it’s long since arrived in your neck of the woods – here is one of my favourite new spring recipes to enjoy as the sun peeks its head out from behind the clouds.

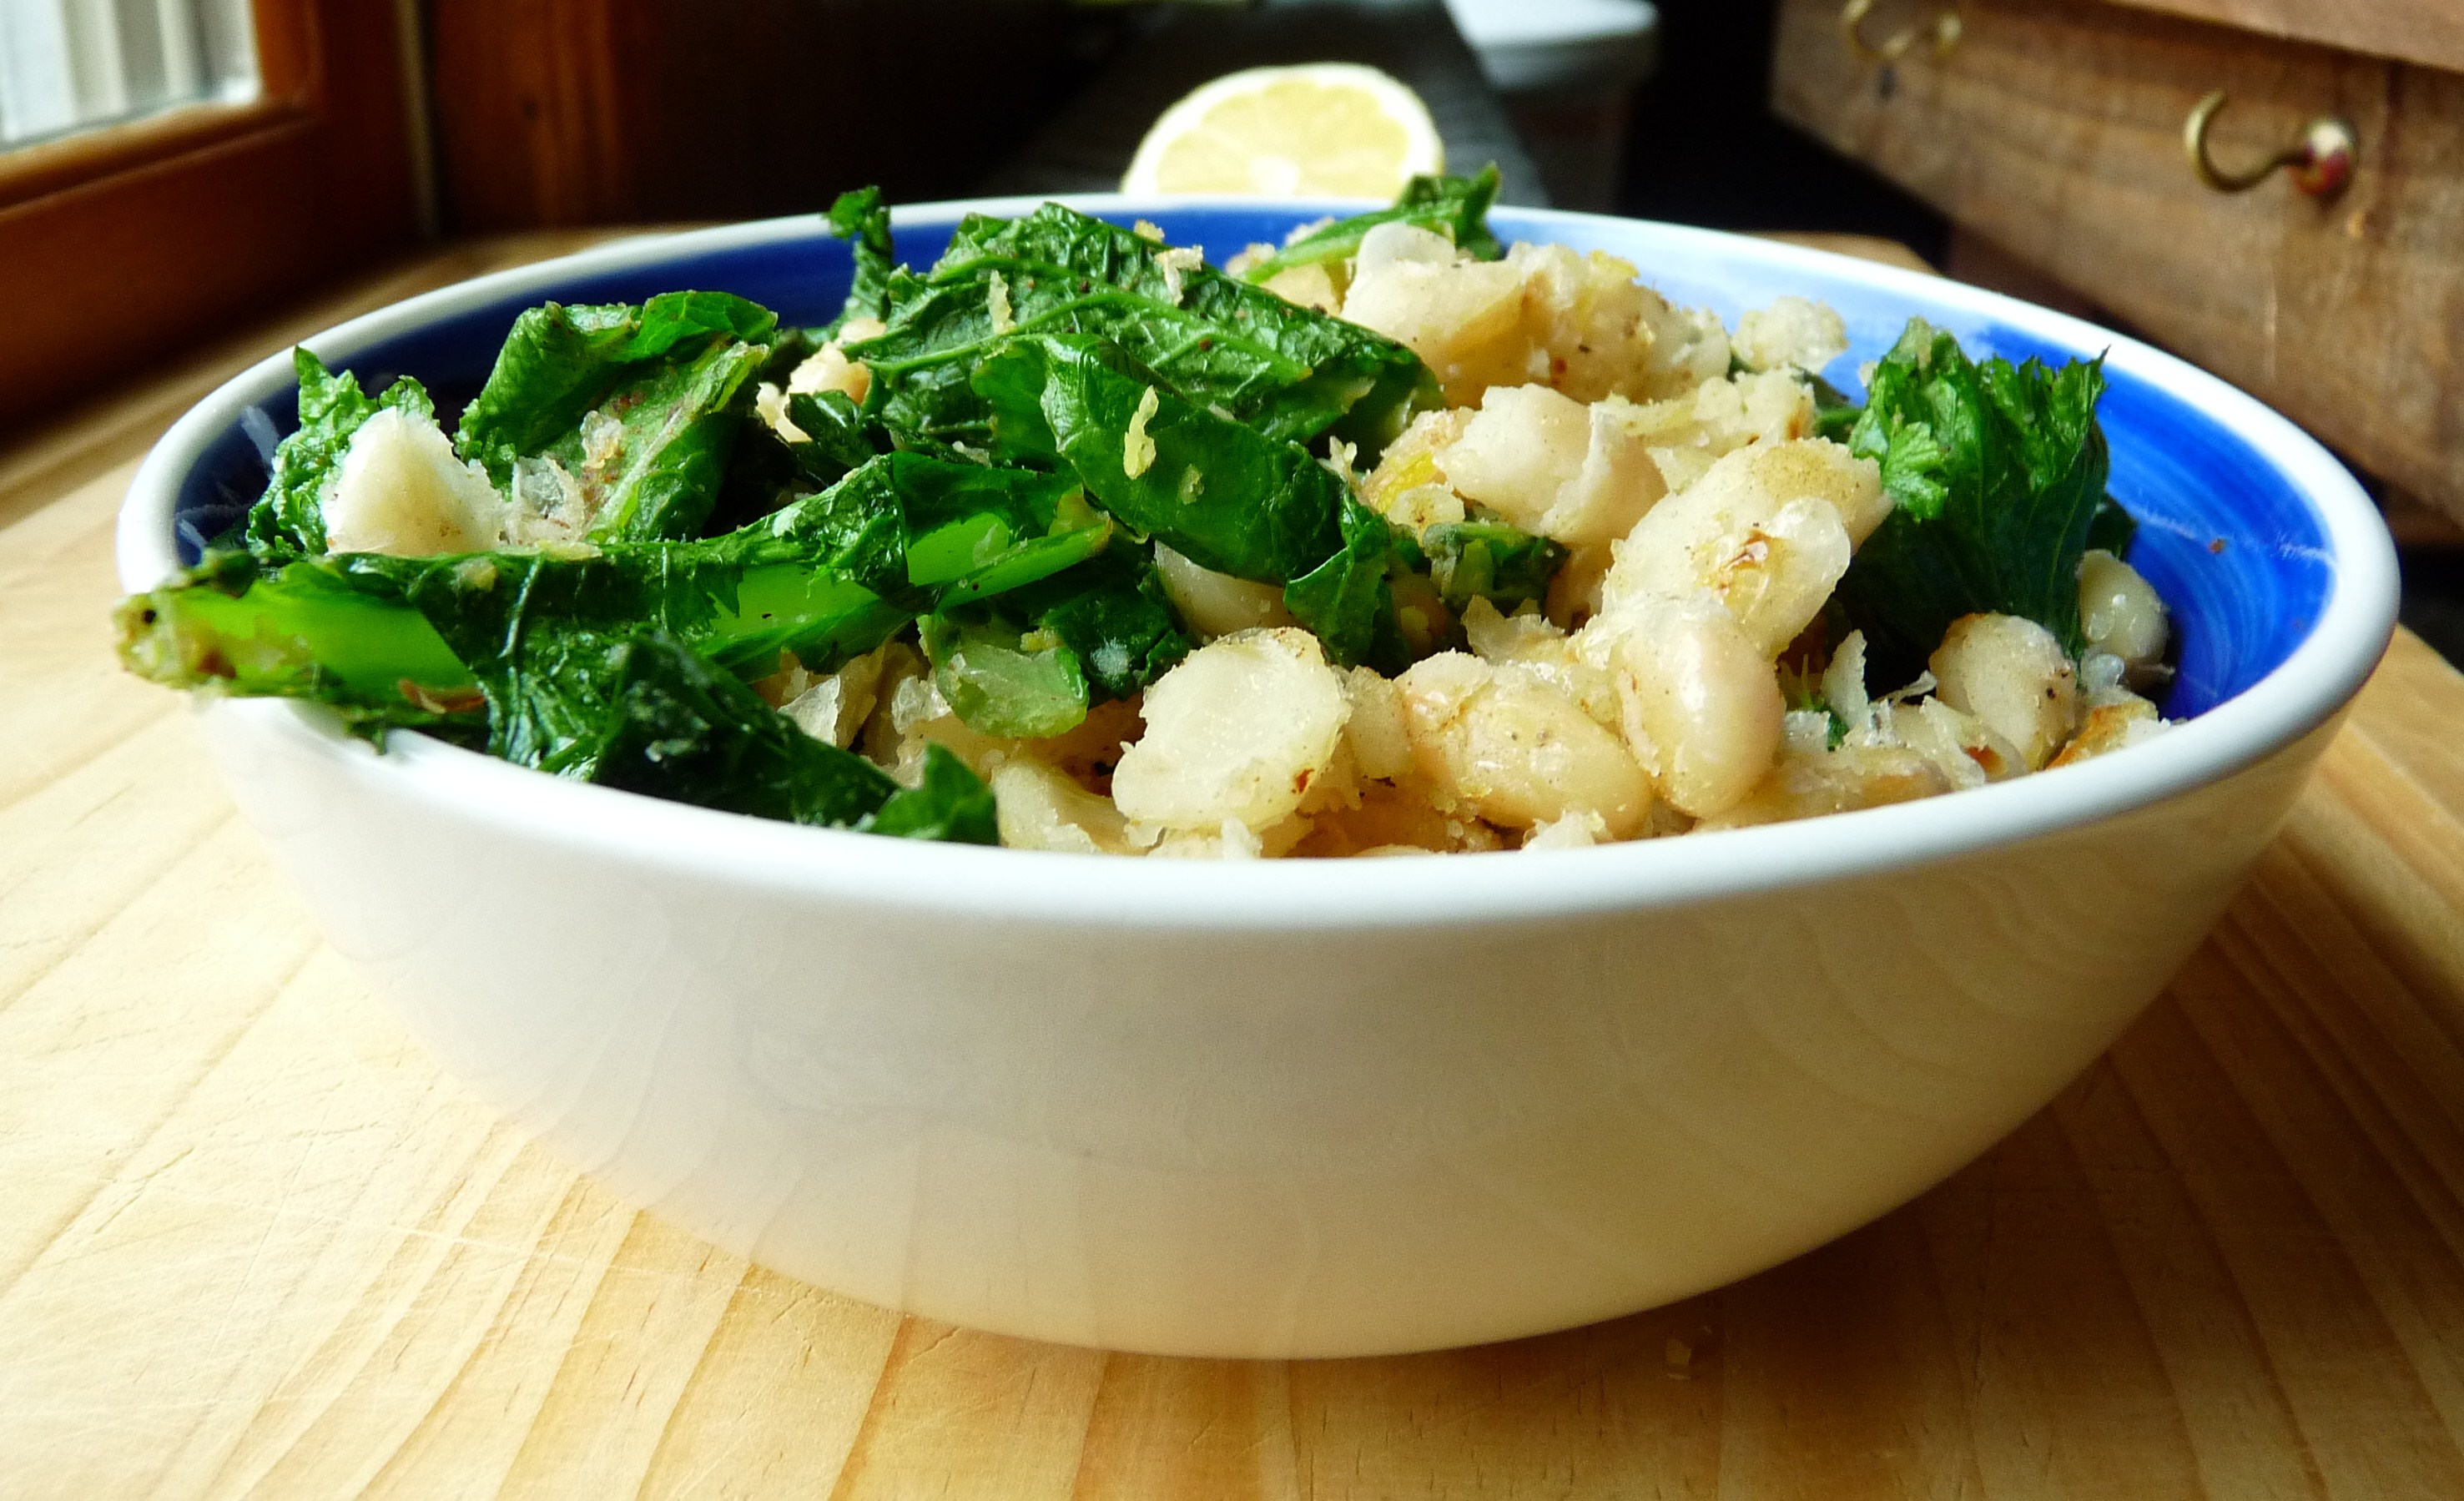
This dish is both healthy and filling. It’s full of zing (hello lemon zest and nutmeg) and a satisfying crunch. Perfect as a side dish or a main. We’ve had it several times now, and it just keeps getting better as I tweak it.

You could use all sorts of greens: collard, chard, spinach, arugula {rocket}, kale. Anything sturdy and dark green. Ooh and don’t skimp on the lemon, nutmeg, and other seasonings – they’re what make this dish so poppy and fresh!

Pan-Fried White Beans with Greens
adapted from 101 Cookbooks

Ingredients

  • 1/2 bunch collard greens or kale, stems removed
  • 2 tablespoons extra virgin olive oil
  • 2 – 3 big handfuls of cooked cannelini white beans (I highly recommend using dried beans here – the taste is dramatically better)
  • 1/4 teaspoon fine grain sea salt
  • 1/3 cup walnuts, lightly toasted
  • 1 clove garlic, minced
  • 1/8 teaspoon freshly grated nutmeg
  • scant 1 tablespoon fresh lemon juice
  • zest of one small/medium lemon (if it’s larger, you’ll probably want to use less as the flavour is quite prevalent and can dominate)
  • Salt and freshly ground black pepper

Directions

  1. Finely chop the collard greens, wash it, and shake off as much water as you can. Set aside.
  2. Heat the olive oil over medium-high heat in the widest skillet you own. Add the beans in a single layer. Stir to coat the beans, then let them sit long enough to brown on one side, about 3 or 4 minutes, before turning to brown the other side, also about 3 or 4 minutes. The beans should be golden and a bit crunchy on the outside.
  3. Add the collard greens and salt to the pan and cook for less than a minute, just long enough for the greens to lose a bit of their structure. Stir in the walnuts and garlic, wait 10 seconds, then stir in the nutmeg. Wait ten seconds and stir in the lemon juice and zest. Remove from heat, check seasoning – add salt and pepper – and serve.

Serves 2 – 4.

6 comments     posted in:   Healthy Food, Recipe


chocolate chip muffins

April 15, 2011

When my sister and I were little we weren’t allowed to eat “junk food”, a rule that was strictly enforced by our parents. This included sweets, crisps, sugary drinks, and all sorts of other things that we were itching to get our sticky paws on. Going to McDonald’s was frankly unthinkable. Generally, I appreciate that my parents did not want us to eat crap and fed us whole, fresh foods instead of a ton of sugar, although I don’t think I had the same feelings when I was eight.

Once we reached a certain age, the parents relented slightly. I’m not sure if it was because they knew they could control less as we grew older, or if their own views softened a bit, but the occasional treat would start popping up in our larder. My favourite of these, by a mile, were chocolate chip muffins.

One brand was better than all the others and when Mum bought the Tesco’s Finest chocolate chip muffins and I saw them sitting in the cupboard, the excitement was pretty intense. Sometimes she would buy the miniature version but nothing was as good as the giant ones, which had an American flag on the label to identify them with their country of origin.

Those muffins were just perfection. So moist, with an amazing top and beautiful studs of chocolate throughout. They definitely did not go light on the chocolate chips and why would you?

And so to these muffins, today. Something reminded me of those Tesco muffins sitting in the larder in the house I spent 10 years growing up in, and I wanted to prolong the memory and the thought of home.

Funny that an American muffin can remind me of home.

I wanted these to replicate the muffins of Tesco yore as much as possible which is why they are studded with chocolate chips in a more is more attitude. Lots of chocolate crunch in every bite. Warm from the oven they’re more cupcake-like really but let them sit for half an hour once they’ve cooled and the crumb really holds together well in that very identifiable way of a muffin. Their only fault is that they lack that particularly brilliant feature – the muffin top. If anyone can school me in how to achieve a ridiculously large muffin top, I’d be much obliged.

Chocolate Chip Muffins

Ingredients

  • 2 cups all-purpose flour
  • 1/3 cup granulated sugar
  • 1/3 cup light brown sugar
  • 2 teaspoons baking powder
  • ½ teaspoon salt
  • ½ cup butter, melted and cooled
  • 2 large eggs, lightly beaten
  • 2/3 cup buttermilk
  • 2 teaspoons vanilla extract
  • 1.5 cups chocolate chips

Directions

1. Preheat the oven to 375F. Line a muffin tin with 12 paper liners. Set tin aside.

2. In a large bowl whisk together flour, white and brown sugar, baking powder, and salt.

3. In a smaller bowl stir together the melted butter, eggs, buttermilk, and vanilla extract until well blended. Create a well in the center of the dry ingredients. Pour the liquid mixture into the well and gently stir until combined. Stir in chocolate chips.

4. Spoon batter into muffins cups and bake for 18-20 minutes or until a toothpick comes out clean (a little chocolate is ok here). Remove muffins from the oven and allow to cool before serving. Makes 12 muffins.


20 comments     posted in:   Recipe


chocolate waffles

April 13, 2011

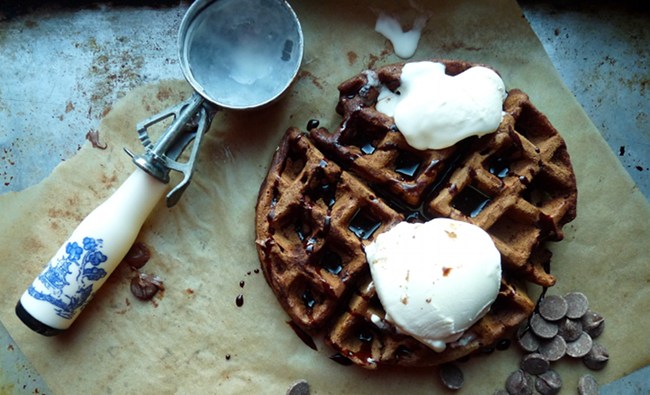
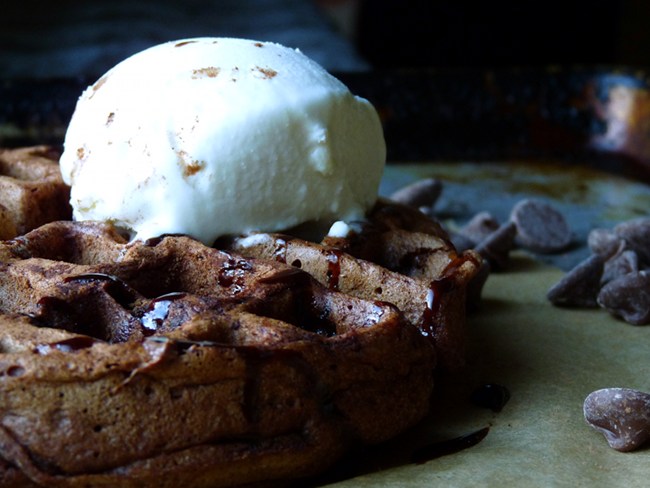
Chocolate waffle with ice cream

First homemade oreo cookies and now these waffles. What am I trying to do to you? To myself?! We all need to go on a diet. These things are not helpful for anyone wanting to bare skin in the next few months.

Ok, maybe you don’t need to go on a diet. You’re just reading after all and maybe thinking about making these. You’re not the one who came home and made these for dinner on a Monday night. Maybe I need to not be eating chocolate waffles for dinner. But I don’t think you’ll find me going on a diet anytime soon, so let’s just enjoy these in moderation.

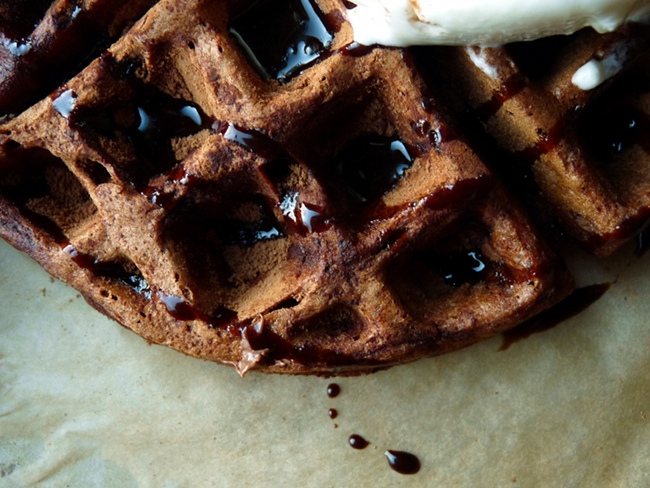
Come home, eat some broccoli. Make a salad. Then, make and devour these waffles. (Plus ice cream). (Plus chocolate sauce). It’s love.

chocolate waffle

Warning: these are not a breakfast food. I know that waffles are totally legit for breakfast in America but let’s not kid ourselves. Even without the ice cream and chocolate sauce (wait, why would you want to go without?) I will not advocate for these before 10.00am. Granted, I can’t technically prevent you for having them for breakfast but I’m not gonna encourage it.

I halved the recipe below to make enough for two to share and it was still p.l.e.n.t.y. Yowzer.

Waffle

Chocolate Waffles

adapted from Alton Brown

Ingredients

  • 7 ounces all-purpose flour, approximately 1 1/2 cups
  • 1 3/4 ounces sugar, approximately 3 tablespoons
  • 1.5 ounces cocoa powder, approximately 1/2 cup
  • 1 teaspoon baking powder
  • 1 teaspoon salt
  • 1/2 teaspoon baking soda
  • 3 whole eggs, beaten
  • 2 ounces unsalted butter, melted and slightly cooled
  • 1 teaspoon pure vanilla extract
  • 16 ounces buttermilk, room temperature
  • 4 ounces chocolate chips, approximately 3/4 cup
  • Vegetable oil for waffle iron
  • Vanilla ice cream or chocolate sauce to serve (this chocolate sauce recipe looks so good!)

Directions

  1. Preheat waffle iron according to manufacturer’s directions.
  2. In a medium bowl whisk together the flour, sugar, cocoa powder, baking powder, salt, and baking soda. In another bowl beat together the eggs and melted butter and vanilla, and then add the buttermilk. Add the wet ingredients to the dry and stir in the chocolate chips just until combined. Allow to rest for 5 minutes.
  3. Ladle the recommended amount of waffle batter onto the center of the iron. Close the iron top and cook until the waffle is crispy on both sides and is easily removed from iron. Serve immediately or keep warm in a 200F oven until ready to serve.

11 comments     posted in:   Recipe