bourbon creams

June 1, 2011

Did your family have a biscuit tin or cookie jar growing up? If so then you’ll have had your favourites. The biscuits (cookies) that were your go-to pick; that you were so excited when you saw.

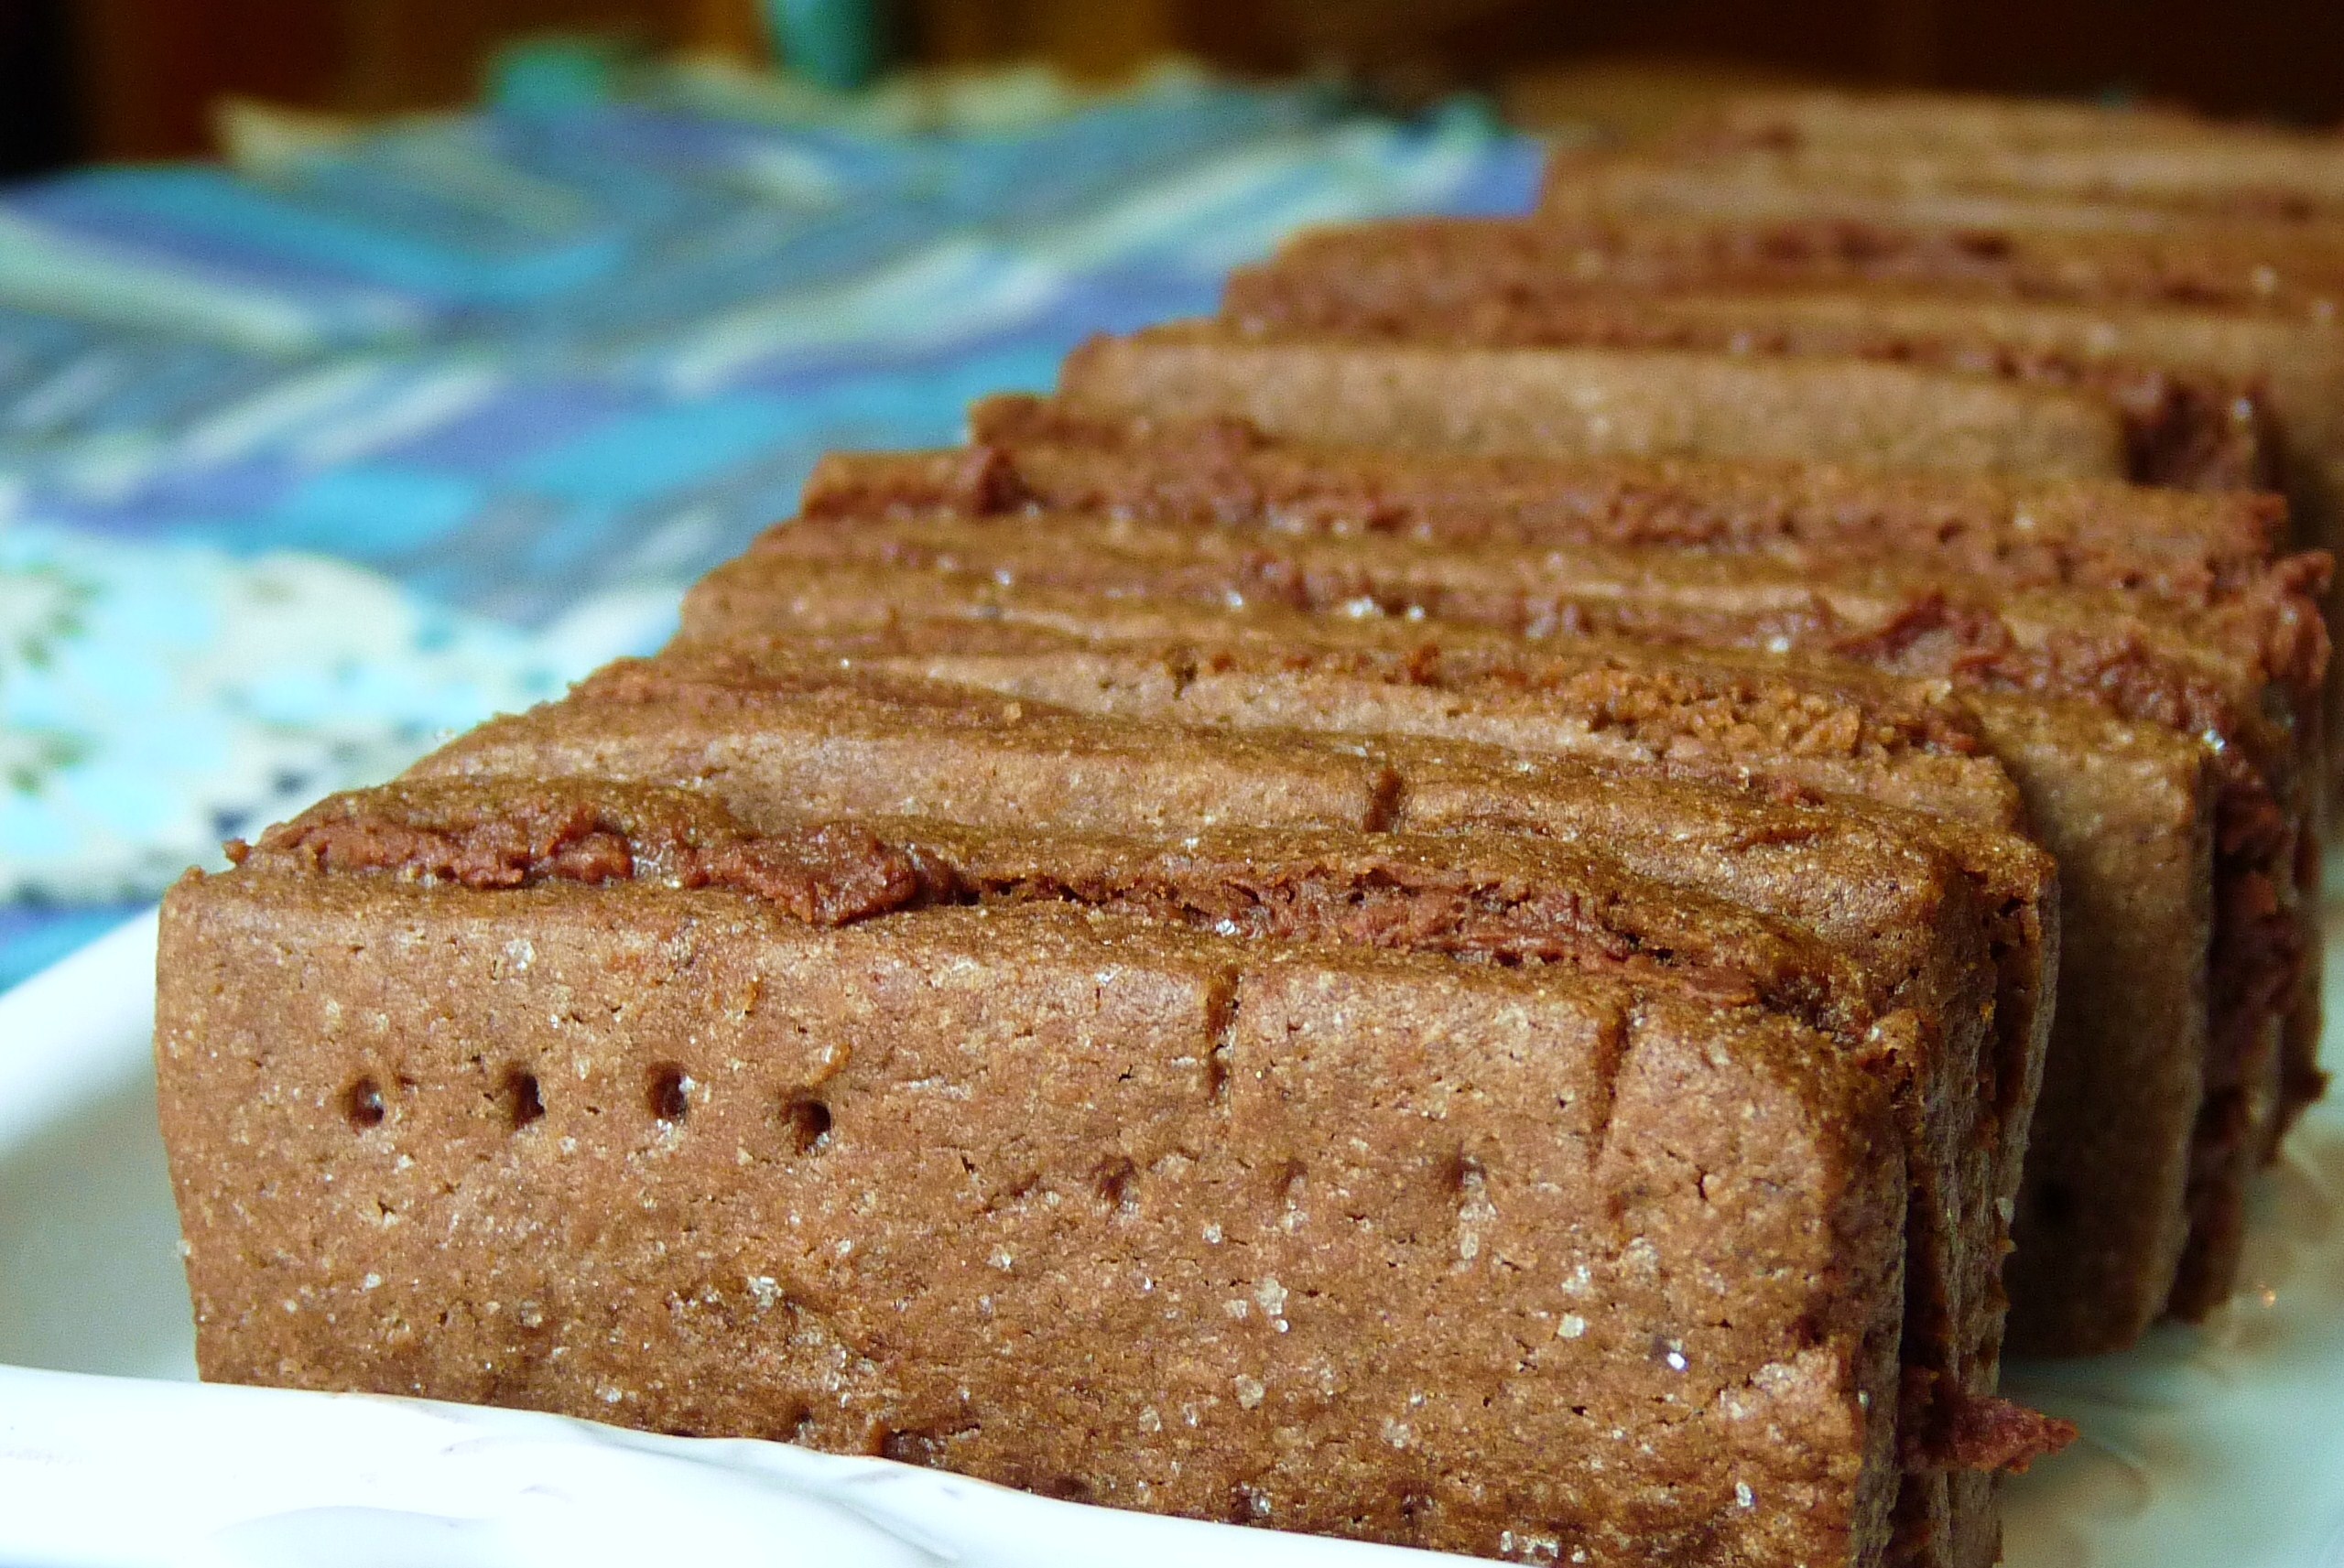
Bourbon Creams were my biscuit tin favourite. There’s nothing too fancy about them – they are basically two rectangular chocolate biscuits sandwiching a chocolate cream filling. Fancy or not, I loved them.

I could never just bite into them straight (unless I’d dunked them in a cup of tea or coffee first) but instead would nibble the top biscuit off and then scrape out the chocolate cream filling with my teeth. That was the good stuff. The last biscuit was just an afterthought at that point.

A friend of mine recently returned from her honeymoon in Scotland and brought back some supermarket brand bourbon creams (the original manufacturer no longer makes them so it’s all own-brands). I squealed. I hadn’t thought about my beloved bourbons in years and here they were.

Since there’s little chance of finding these beauties in the shops stateside I made some. They are a bit sweeter than the shop-bought kind but retain that satisfying crunch and snap of hard biscuits. The cream filling is lovely and rich – you’ll definitely want to break into them and scrape it all out – divine.

P.S. They’re kid-friendly: no actual bourbon involved.

Bourbon Creams

Ingredients

  • 1 1/4 cup plus 2 tbsp all-purpose flour
  • 1/4 cup cocoa powder
  • 1 1/4 teaspoons baking powder
  • 1/8 teaspoon salt
  • 6 tablespoons unsalted butter, room temperature
  • 3/4 teaspoon vanilla extract
  • 3/4 cup sugar
  • 1 large eggs
  • 1/2 tablespoon milk
  • granulated sugar, to sprinkle

Directions

  1. In a medium bowl, sift together flour, cocoa powder, baking powder, and salt, and set aside. Cream butter, vanilla, and sugar. Add eggs and milk, and mix until combined. Add flour mixture, and mix slowly until incorporated, scraping the sides of the bowl at least once. Divide the dough in half, and shape each half into a flat disk. Wrap each disk in cling film (plastic wrap), and chill until firm, about 1 hour.
  2. Preheat the oven to 350F. Roll dough out on a floured surface, sliding an offset spatula under the dough to release it every few turns of the rolling pin. Roll dough to 1/8 inch thick. Cut dough into small rectangles, about 1 inch x 2.5 inches, making sure each biscuit has a match to make a sandwich. Place rectangles on a lined baking sheet; chill until firm, about 30 minutes. Remove from refrigerator; use a fork to prick the biscuits with holes. Sprinkle with granulated sugar. Bake until just firm, 12 to 15 minutes. Let cool on baking sheet; transfer to a wire rack.
  3. With the underside of half the cookies face up, spoon chocolate butter cream to cover one side in a thin layer. Place matching cookie on top of butter cream, top side facing out.

To make the buttercream:

Ingredients

  • 2.5 oz good quality semisweet or bittersweet chocolate
  • 4 tbsp butter, at room temperature
  • 1.5 cups powdered sugar, sifted
  • 1 tbsp baking cocoa, sifted
  • 2-4 tbsp milk

Directions

  1. Melt chocolate in a double boiler and allow to cool to room temperature.
  2. Beat in butter until creamy.
  3. Add powdered sugar and baking cocoa.
  4. Slowly beat in milk 1 tbsp at a time until you reach desired consistency.

10 comments     posted in:   Recipe


Salads like this one scream “Spring in Minneapolis!” to me. Loudly, like that, with italics.

Minneapolis in the Springtime can be sassy. Tornadoes? We get them. Pouring rain? Yeah, hi. Amazing bright, sunny mornings full of hope? Those too. It keeps things interesting and when those bright mornings happen you do something.

You wake up, after ten glorious hours of sleep to the sound of Dan making coffee.

You declare that you’d like to make the most of this sunshine while it’s here and go for a walk.

Dan suggests walking down to the Farmers’ Market. You nod happily and put on your comfy, bit-too-big yoga pants. You pull your unwashed hair back, put on some sunglasses, and grab that coffee mug. Let’s do it.

Walking to the river and the market you talk about life and big picture things. Your husband indulges you because he knows you love talking about this stuff (where will we be…? what will we be doing…? what will happen to…?)

The market is full of all those things that scream “Spring in Minneapolis!” and you can’t help but grab a couple.

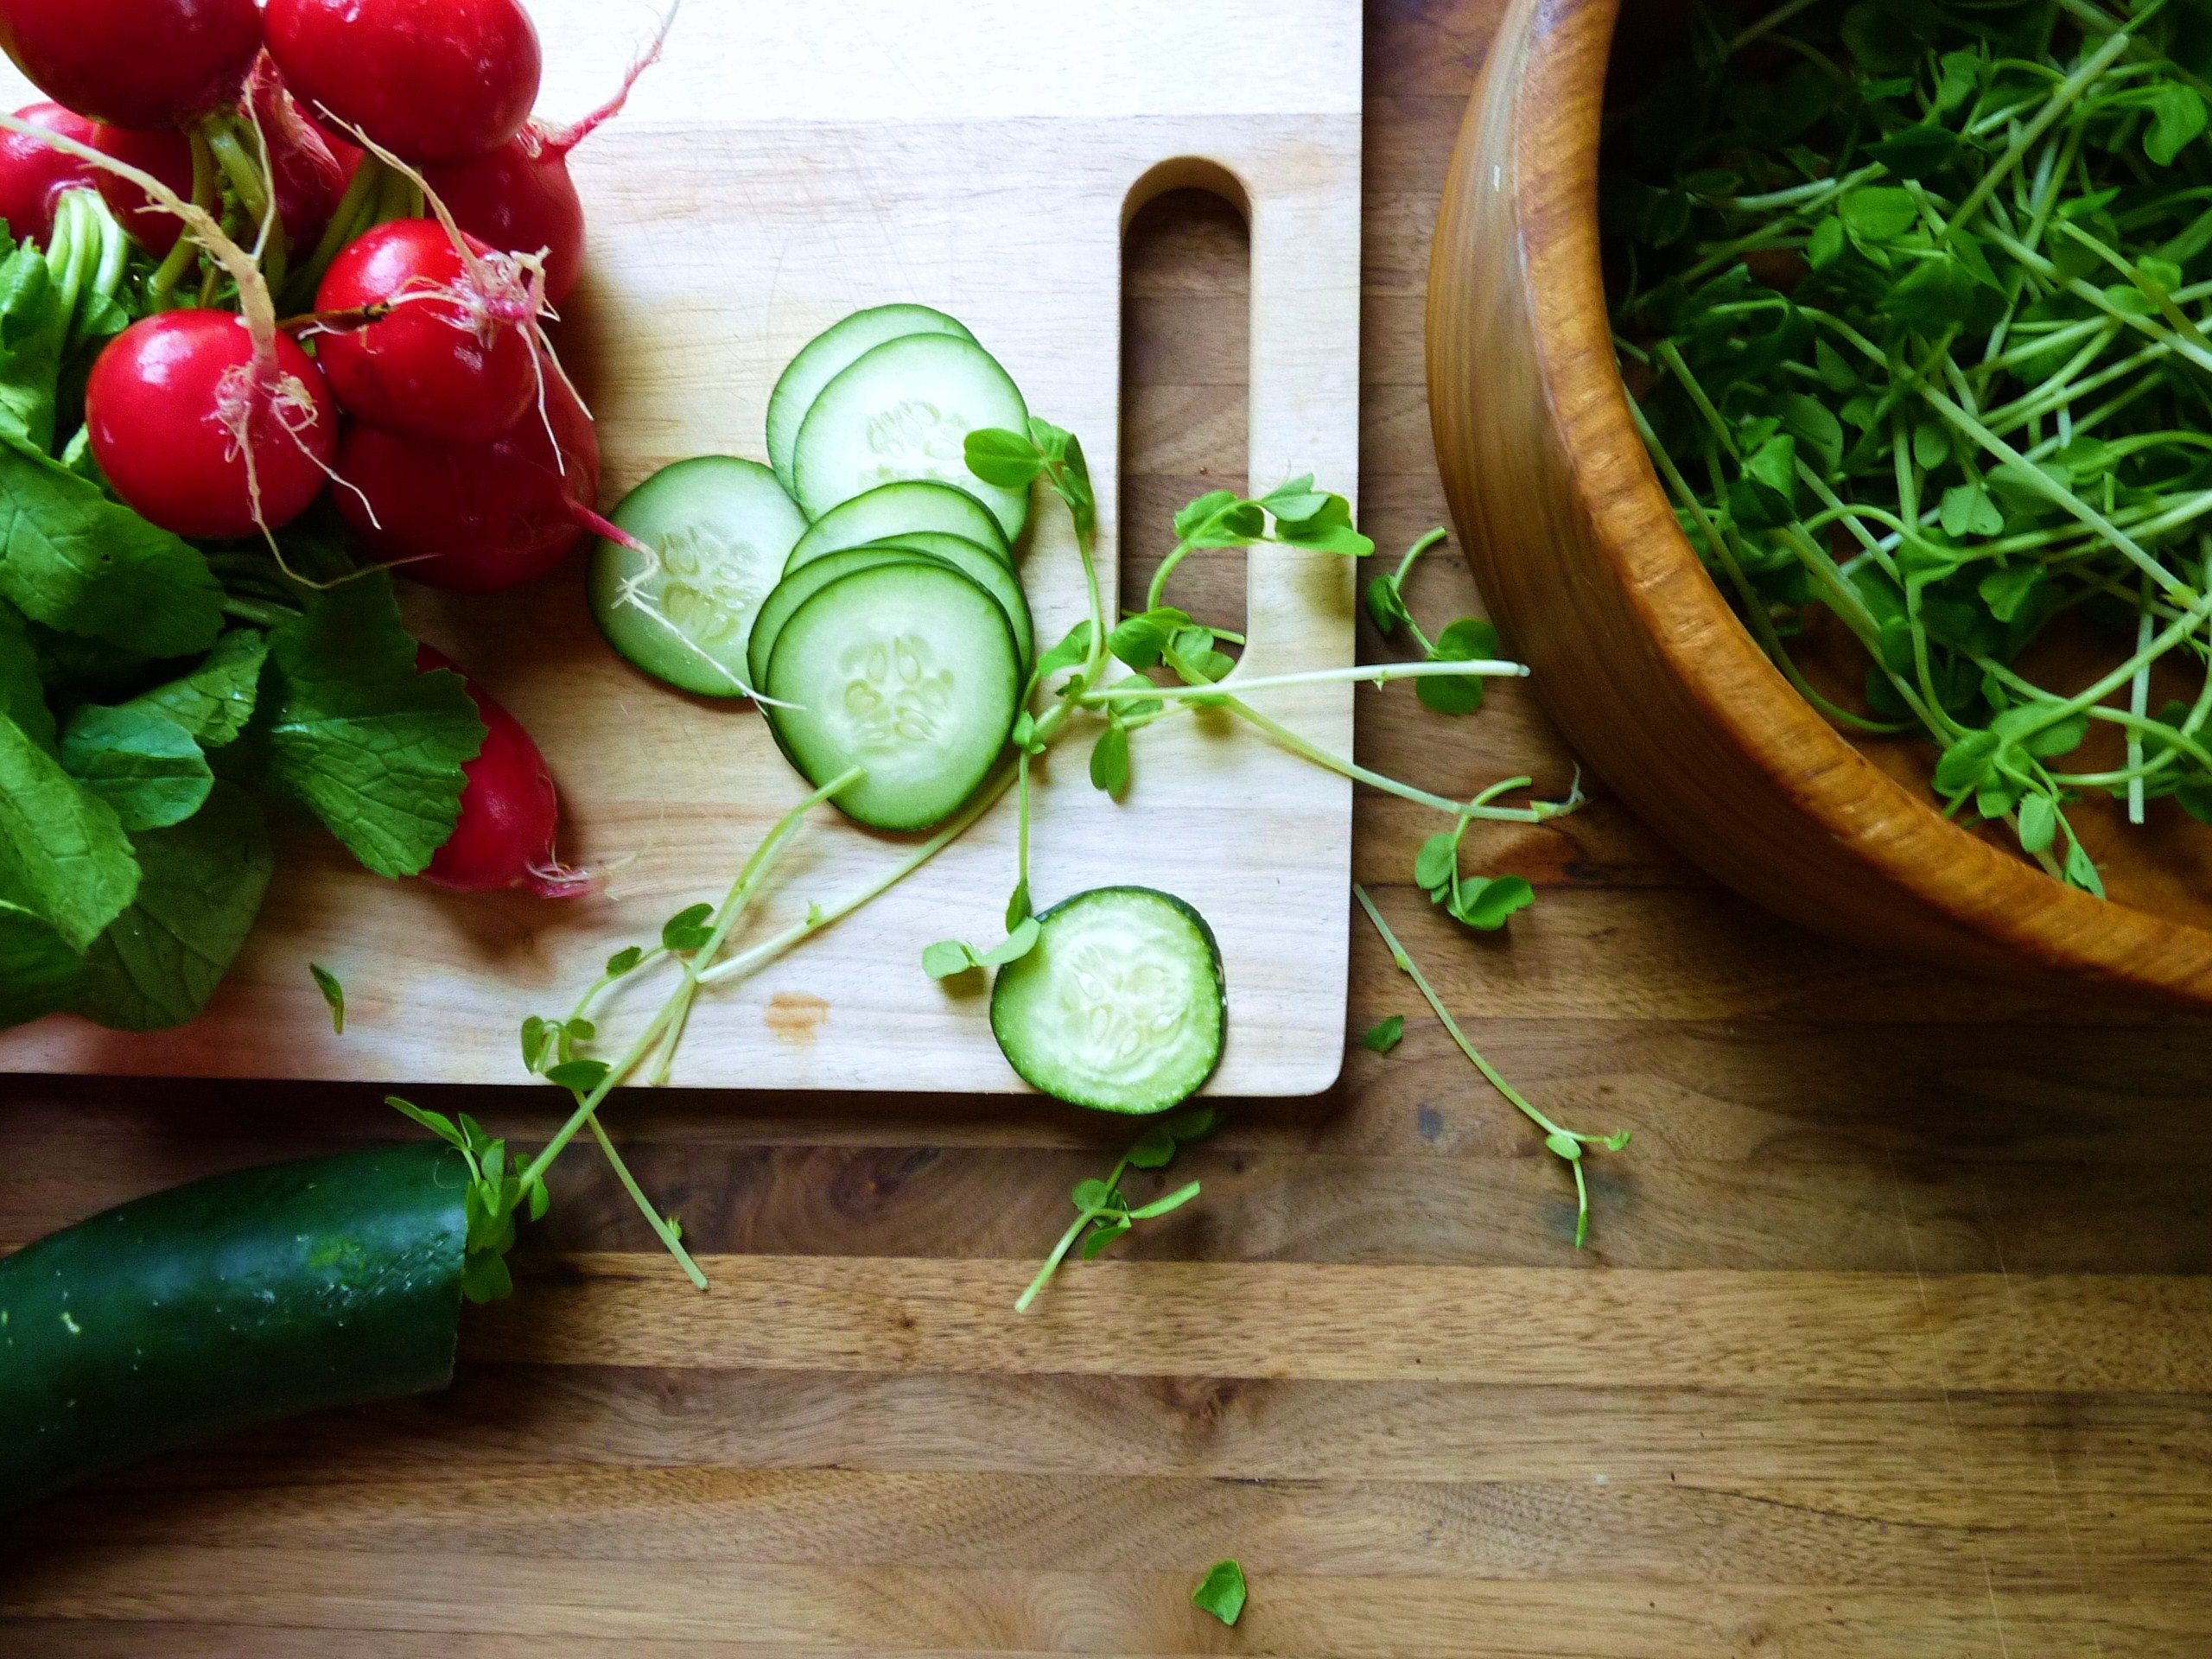
You don’t linger too long. Instead you head home with your radishes and pea sprouts and you make this salad for lunch.

This is Spring in Minneapolis.

This salad is fresh and full of maximum Spring flavour. The dressing is light and zingy, with just the right amount of punch from the lemon and red wine vinegar. You don’t want to go too heavy on the oil.

The salad itself is a work of flavour-pairing magic. Pea sprouts taste sweet and just like peas – not bitter at all, as we expected – they pair perfectly with crunchy, slightly spicy radishes and fresh cucumber. The tangy feta brings it all together with a little creaminess and saltiness. Eat it with a large hunk of fresh bread and butter for lunch or alongside a juicy, just-grilled steak.

Spring Radish and Pea Sprout Salad

Ingredients (serves 2)

For the salad

  • 2 cups pea sprouts
  • 1/2 bunch (or about 5) radishes, thinly sliced
  • 1/4 cucumber, thinly sliced
  • 1/4 cup feta cheese, diced or crumbled

For the dressing

  • 1 tbsp lemon juice
  • splash red wine vinegar
  • 1 tbsp olive oil
  • salt and black pepper

Directions

  1. In a medium bowl, toss pea sprouts, radishes, and cucumber with lemon juice, vinegar and oil. Season with salt and pepper. Sprinkle feta cheese on top and serve.

This is the first recipe I’ve tried from my lovely Ottolenghi cookbook. It was a birthday present from in-laws who know me well and knew I’d been lusting after it. After flipping through it in a sort of from-a-distance way for several weeks, I sat down at the weekend and got a teensy bit overexcited with post-its. I want to make everything. There’s so much flavour in every recipe it’s almost like you’re getting smacked in the face with it. In a good way.

I’ve been told that the cakes are amazing and as you can imagine, I’m rather childishly excited to get to them. But I wanted to try something asap and this recipe is apparently Ottolenghi, the restaurant/cafe’s signature dish.

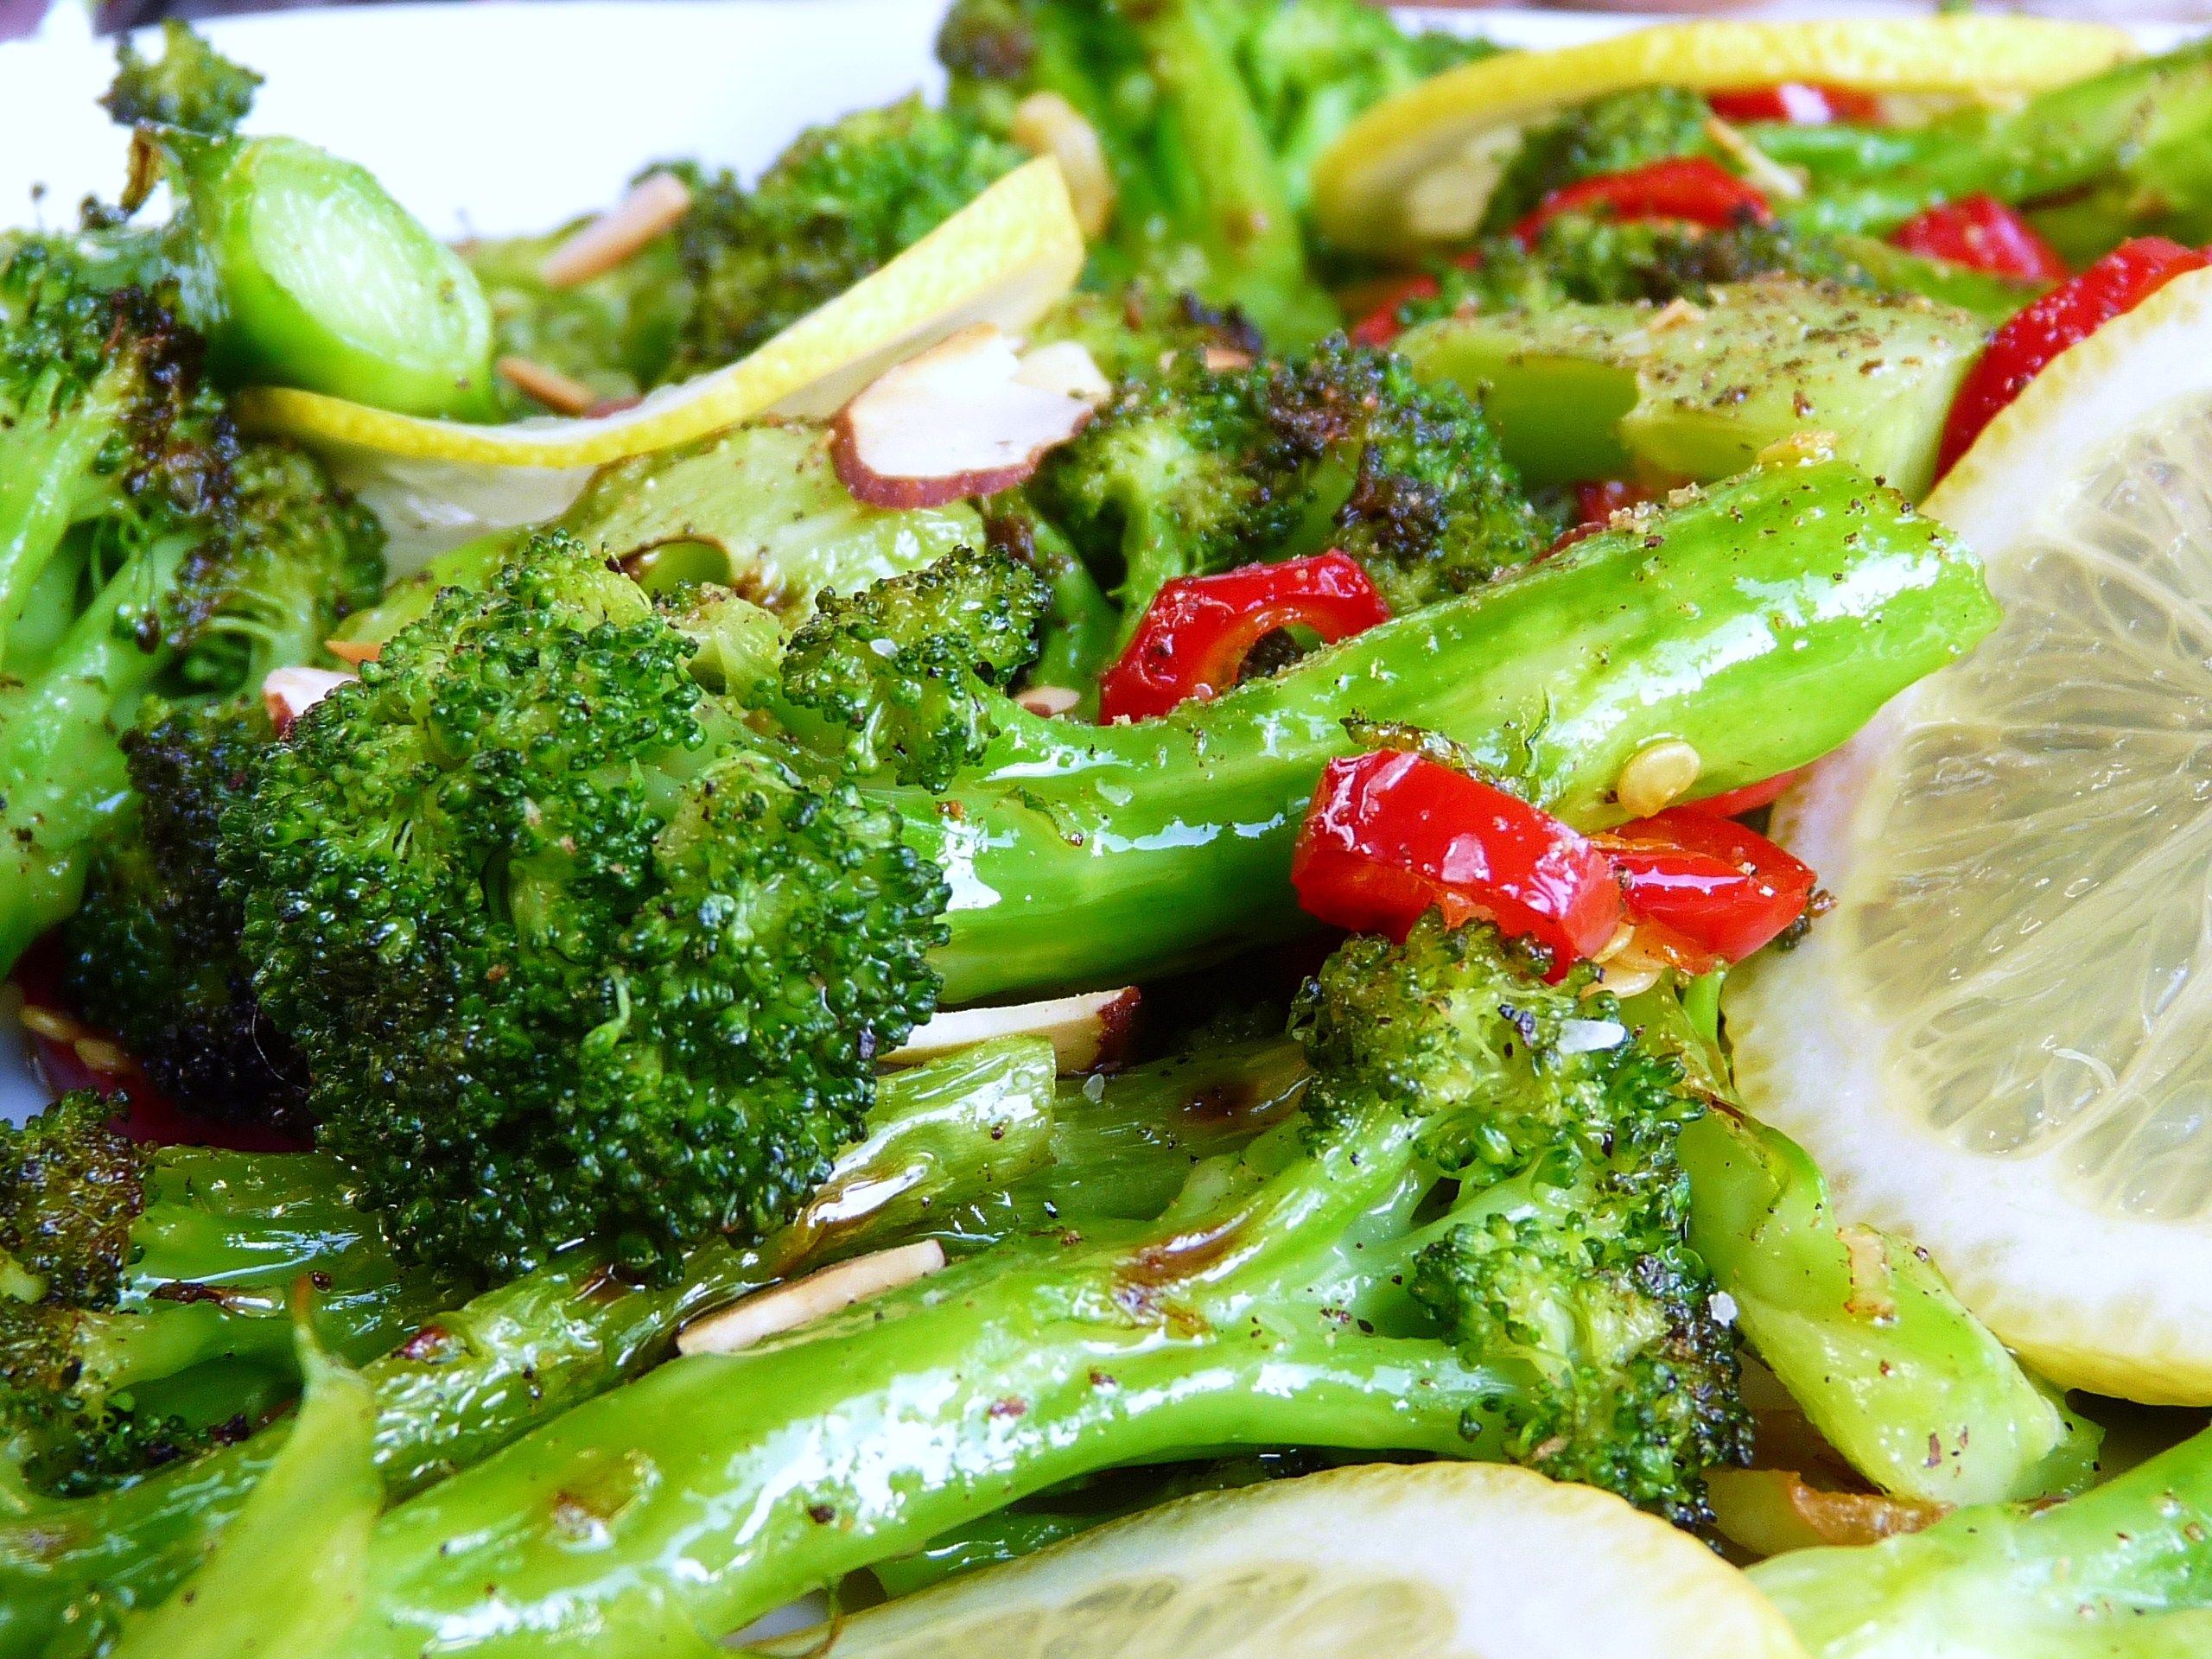
If you want a simple way to tart up broccoli, this here is for you. It’s not complicated, but it’s good. I went a little heavy on the oil (being too lazy to convert the measurements first) so watch out for that. This dish calls for a delicate hand to get the flavours spot on. This is another reason why I’m a better baker: I like precision and when I’m left to my own devices, I tend to go overboard.

If you’re looking for a colourful and bright dish for this long holiday weekend (in the States) or a picnic take-along (anywhere) this would be a most excellent choice.

Chargrilled Broccoli with Chilli and Garlic
from Ottolenghi: The Cookbook

Ingredients

  • 2 heads of broccoli (approx. 18oz)
  • 100ml olive oil
  • 4 garlic cloves, thinly sliced
  • 2 mild red chillies/jalapenos, thinly sliced
  • coarse sea salt and black pepper
  • toasted almond flakes
  • very thin slices of lemon (with skin) to garnish (optional)

Directions

  1. Separate the broccoli into florets and blanch in boiling water for 2 minutes – don’t be tempted to cook it any longer! Using a large slotted spoon quickly transfer the broccoli to a bowl full of ice-cold water – you need to stop the cooking at once. Drain and leave to dry completely.
  2. Once the broccoli is dry, toss with 40ml of the olive oil and a generous amount of salt and pepper. Place a griddle pan on high heat and leave for 5 minutes until smoking hot. Grill the broccoli in batches on the hot pan, turning to get lovely char marks on all sides. If, like me, you don’t have a griddle pan, use your barbecue!
  3. While the broccoli is cooking, place the remaining oil in a small saucepan together with the garlic and chillies. Cook them over a medium heat until the garlic just begins to turn golden brown. Be careful not to let the garlic and chilli burn – remember they will keep even when off the heat.
  4. Pour the oil, garlic and chilli over the hot broccoli and toss together well. Taste and adjust the seasoning.
  5. Serve warm or at room temperature. You can garnish the broccoli with almonds or lemon just before serving, if you like.

3 comments     posted in:   Healthy Food, Recipe