Beans and Legumes

Homemade Chapati and Simple Dal

My goal with sharing recipes on this blog has always been to focus on simple dishes. I’m happiest making and eating fresh, simple, and (mostly) healthy meals and I like sharing how easy that can be to achieve. There are beautiful blogs out there which will guide you through making complex recipes and which challenge and push boundaries. I don’t think I’m pushing any boundaries here, except to offer a (currently) meat and dairy-free approach to cooking that focuses on whole food, plant-based recipes.

It’s easy to fall into the trap of thinking that cooking from scratch has to mean time spent frantically dashing around the kitchen trying to whip up something chef-fy and impressive. I think there’s a chance that rather than encouraging people to cook, the current glut of competitive cooking shows on TV only alienates us normal folk and makes cooking delicious food at home seem impossibly complicated and unachievable.
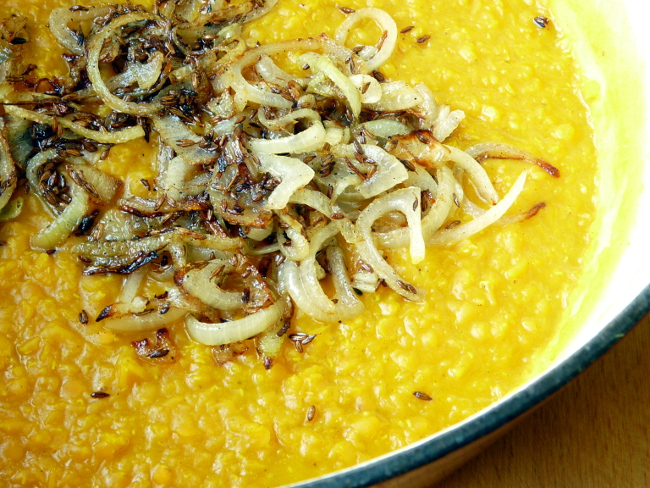
Dal with fried onions

We don’t spend a huge amount of money on food – we’re on a budget and I like the challenge of making delicious meals without spending a lot. We do buy mostly organic produce although the fact that I don’t eat meat or dairy has shrunk our food spending massively. Organic fruit and vegetables certainly come at a price, but it’s nothing compared to meat and dairy, organic or not.

I also don’t have a huge amount of time to spend cooking most days. If I’m lucky, after work there’s an hour available to make something before it’s so late that only toast is practical. At the weekends, more often than not we prefer to be out in the world, exploring this new city rather than hunkered down.
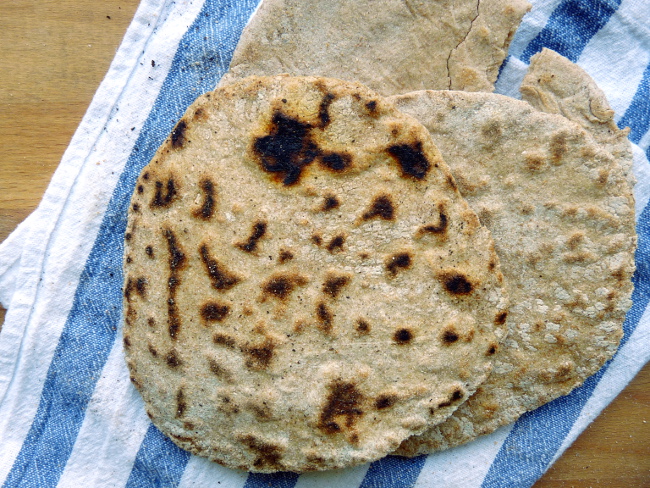
Homemade Chapati

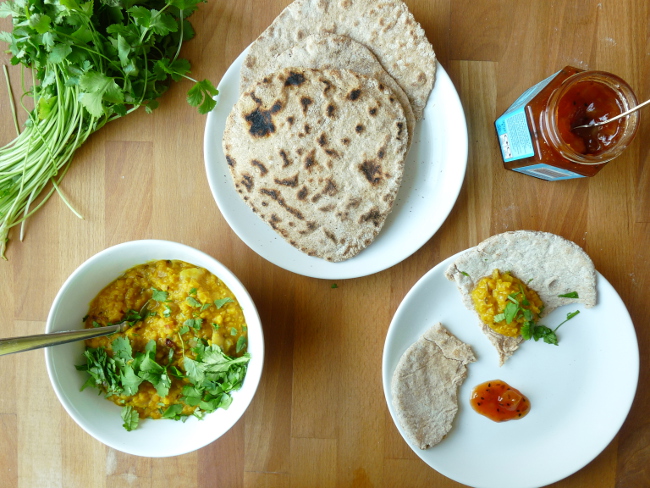
So, inexpensive, simple, quick, and nutritious are my priorities these days and this dal and homemade chapati fall squarely into those categories. Many people assume you need a full cabinet of spices to make good Indian food but this dish is here to prove that theory wrong.

Dal is an excellent dish to make on a budget, requiring only red lentils, water, turmeric, an onion, and cumin seeds. You can’t really get more thrifty or simple than that and yet it packs an almighty flavour punch. Chapati also requires minimal ingredients to create soft, chewy, earthy-tasting, and perfectly charred breads that are lovely alone but perfect with a little chutney spread on them to scoop up dal. Since they require no rise, they are completely practical for a weeknight dinner too. Being lighter than their cousin, naan bread, I find that I can also eat more of them, which is one distinct bonus in my book.
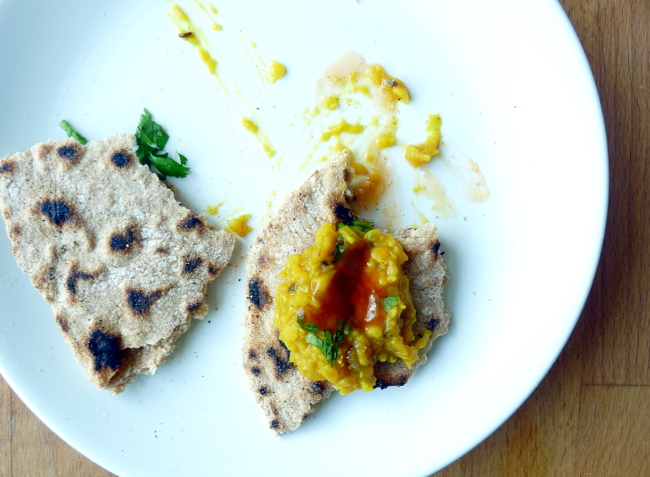
Homemade Chapati and Simple Dal

Simple Dal
from River Cottage Veg

Ingredients

  • 250g / 1 ⅓ cups red lentils
  • 1 tsp ground turmeric
  • 3/4 tsp sea salt
  • 2 tbsp sunflower oil
  • 1 tsp cumin seeds
  • 1 onion, halved and thinly sliced
  • a small bunch of parsley or fresh coriander (cilantro), coarsely chopped

Directions

  1. Put the lentils in a saucepan with 800ml (3.5 cups) water and bring to a boil. Skim off any scum, then stir in the turmeric and salt. Lower the heat and simmer, uncovered for about 15 minutes, whisking vigorously occasionally. The lentils should break down and have the consistency of thick puréed soup. Keep warm in the pan.
  2. When the dal is just about done, heat the oil in a frying pan over medium heat. Add the cumin seeds and fry for a couple of minutes, until browned and fragrant. Add the onion and fry quite briskly for 5-10 minutes until golden brown, with some crispy edges.
  3. Tip the onion mixture into the hot lentils in the pan, cover and leave for 5 minutes, then stir them into the dal. Taste and adjust the seasoning as necessary. Serve with fresh parsley or cilantro on top and homemade chapati on the side.

Homemade Chapati (Indian Flatbread)
adapted from Saveur

Notes
If you can find chapati flour, by all means, use that. It’s a finely milled whole durum wheat flour called atta in Hindi. I used an organic wholemeal flour which turned out really well.

Ingredients

  • 240g / 2 cups organic plain wholemeal flour
  • 1 tbsp kosher salt
  • 1 tbsp organic canola oil
  • 250ml / 1 cup water

Directions

  1. Whisk together the flour, salt, oil, and water in a bowl until dough forms. Transfer to a work surface and knead until smooth, for about 4 minutes. Cover with a tea towel and let the dough sit for about an hour.
  2. Divide dough into 10 equal pieces and shape each piece into a ball. Using a rolling pin, roll each ball into a 12cm / 5″ round. Try to maintain a circular shape, but it doesn’t have to be perfect.
  3. Heat a dry cast-iron skillet or frying pan over high heat. Add a dough round and cook for about a minute before turning once, until cooked through and charred in spots, about 2 minutes.
  4. Transfer to a plate and repeat with remaining rounds. Serve hot. Makes 10 flatbreads.
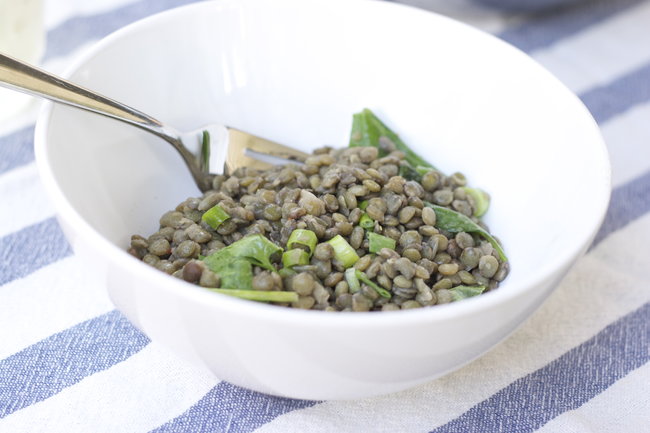
Lentils-with-Greens

River Cottage Veg is my new favourite cookbook. I’ve found myself completely taken with it in the last couple of months and feeling very inspired to cook fresh, lovely vegetable dishes. I really like Hugh Fearnley-Whittingstall’s philosophy on food and that his writing isn’t fussy or overly stylised. The dishes are simple, not convoluted or too complex, which is right up my alley and very much my own way of cooking.

One of my biggest pet peeves with vegetarian cookbooks is that many seem to focus on meat replacements or finding substitutes that mimic the texture or flavour of meat. I don’t think that does vegetables justice! There’s definitely a place for veggie “meat” balls and vegetarian versions of classic meat-centric dishes, but what I love about this book is that the vegetables sing. As a meat eater perhaps Hugh Fearnley-Whittingstall doesn’t feel the need to replace and instead he celebrates vegetables for themselves.

It’s become a bit of a Sunday evening habit for me in the last few weeks to make some socca to snack on (who am I kidding, to attack some socca like a starved person) and then open up River Cottage Veg to make something for supper.

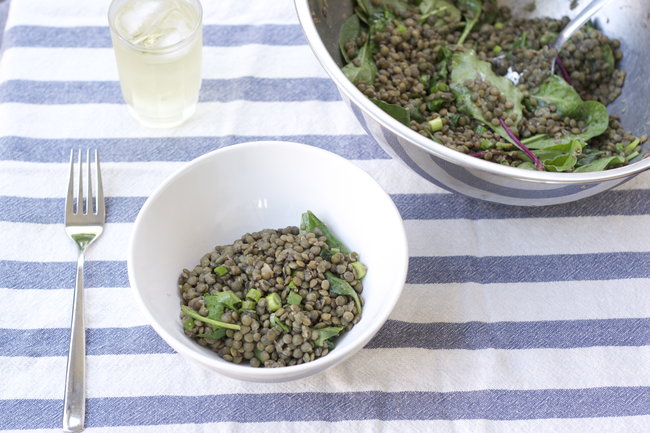
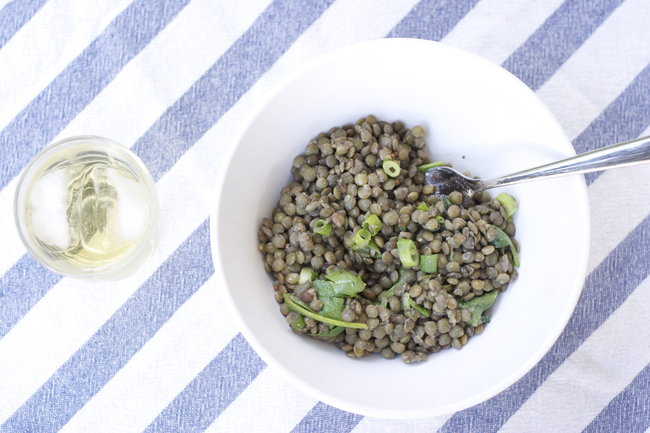
Lentils with Greens, Parsley, and a Mustardy-Lemon Dressing

There are a couple of lovely green lentil recipes in the book and I’ve taken to combining my favourite elements from each to create the dish below. It’s quick, which I obviously like, and has a zingy mustard dressing that I ADORE. I wolf this stuff down and I suspect you will too.

All you have to do is cook the lentils and then swirl in some fresh arugula, parsley, and that mustardy dressing for zing. It makes for a really lovely and quick weeknight dinner when you want something healthy and bright tasting, which for me seems to be most nights during the summer.

Lentils-with-Greens-Parsley-Mustard-Dressing

Lentils with Greens, Parsley, and Mustard Dressing
adapted from River Cottage Veg by Hugh Fearnley-Whittingstall

Ingredients

  • 1 1/3 cups (330 mL) French green lentils
  • 1 bay leaf
  • 2 garlic cloves, smashed
  • A few parsley stems (optional)
  • 3 tbsp (45 ml) olive oil
  • 1 tbsp (15 ml) cider vinegar
  • A small squeeze of fresh lemon juice
  • A little lemon zest
  • 2 tsp (10 ml) Dijon mustard
  • Pinch each salt and sugar
  • Freshly ground black pepper to taste
  • 2 to 3 green onions, chopped into 1/4 inch pieces
  • Large handful of arugula (rocket)
  • Leaves from a bunch of flat-leaf parsley

Directions

  1. Put the lentils in a saucepan and add plenty of water. Bring to a boil and simmer for a minute only, then drain.
  2. Return the lentils to the pan and pour in just enough water to cover them. Add the bay leaf, garlic and parsley stems, if using. Bring back to a very gentle simmer, and cook slowly for about half an hour, until the lentils are tender but not mushy. Drain the lentils and discard the herbs and garlic.
  3. For the dressing, add the following to a jar with a screw-top lid: olive oil, cider vinegar, lemon juice and zest, mustard, salt, sugar and a few twists of black pepper. Cap and shake vigorously to emulsify.
  4. Toss the warm or cooled lentils with the arugula, parsley leaves, green onions, and the vinaigrette.

White Beans with Fresh Herbs

This simple combination of ingredients has become my saving grace. I make Pan-Fried White Beans and Greens at least once or twice a month. It’s an absolute weeknight staple in our house and we devour it. But as many times as I’ve made that dish, I always soak and cook too many beans and am left with a giant pile. I’ve found that cooked beans don’t last especially well and so I’ve wasted them more times than I’m really happy to admit.

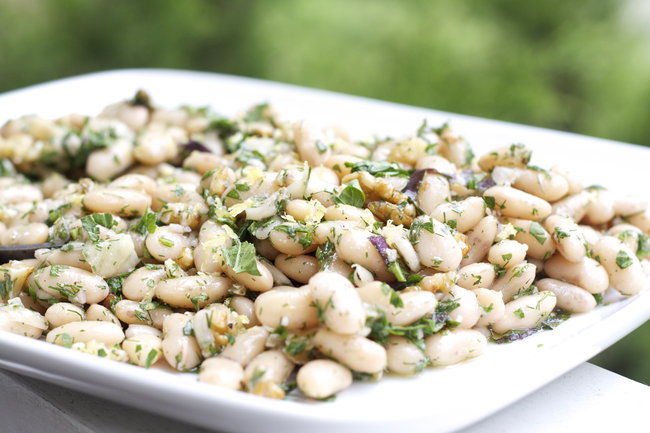
White Beans with Fresh Herbs

Molly Katzen has single-handedly saved me and my beans from that fate with this little recipe. It’s so simple as to be a fantastic reminder that smaller – lighter – less – are often the best things to focus on when it comes to food. There are no bells and whistles to this salad – no other vegetables at all in fact – just a jumble of fresh herbs and some olive oil and acid. It makes a really great lunch salad and I imagine a buttered hunk of crusty bread would go well but it’s quite filling alone.

I typically throw in some lemon zest and chopped walnuts because (you guessed it) I have them left over from the Pan-Fried White Beans and Greens. You don’t have to include them but they certainly add a nice touch.

White Beans and Fresh Herbs

White Beans and Fresh Herbs
adapted from The New Moosewood Cookbook by Molly Katzen

Ingredients

  • 1.5 cups dry white beans
  • 3 tbsp olive oil
  • 2 tbsp red wine vinegar
  • 1 clove of garlic, minced
  • Small handful walnuts, toasted and chopped
  • Lemon zest from about 1/2  lemon
  • 1/2 tsp fresh basil, chopped
  • 1/4 cup fresh parsley, finely chopped
  • 3 tbsp fresh dill, finely chopped
  • Large pinch of salt
  • Lots of freshly ground black pepper

Directions

  1. Soak beans: place dried beans in a large pot and cover with about 3 inches of cold water. Set aside to soak for at least eight hours or overnight.
  2. Drain soaked beans and return to pot. Cover generously with water and bring to a boil and then reduce heat to a simmer and cook, partially covered, for about 1 – 1.5 hours, adding water as necessary and stirring occasionally, until tender.
  3. Once beans are done, drain and place them in a medium sized bowl.
  4. Add remaining ingredients to the beans and mix gently. Taste and adjust seasoning.
  5. Cover tightly and chill until cold.