How-To

perfect roast potatoes

December 21, 2011

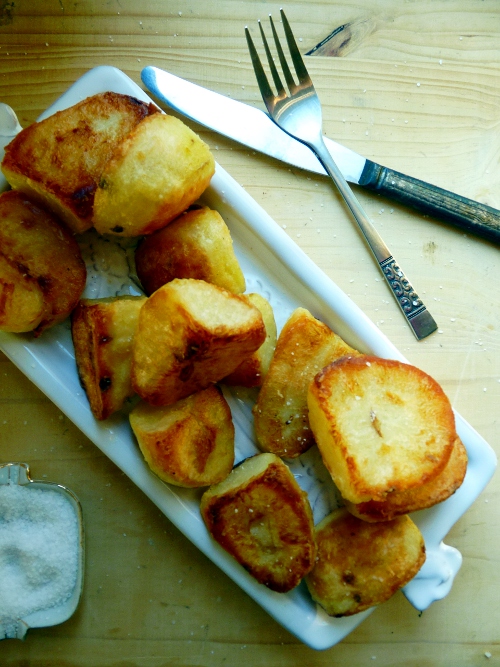
In British households the roast potato is king at Christmas. No other cooking method can live up to the shining glory of a great roast spud.

I had a bit of trouble wrapping my head around the whole mashed potato at Thanksgiving thing, because in many other respects Thanksgiving dinner looks like the British Christmas dinner. Why were people eschewing the roastie?! I couldn’t wrap my head around it. But it’s okay. You can have your T-Day mash if I can have my Chrimbo roast potato.

If you can’t tell already, I’ve been thinking a LOT about this recently. Christmas is a-coming and Dan and I have been charged with planning two Christmas dinners, which we’re mightily excited about. You could say I’ve got my game face on when it comes to serving up really good roasties.

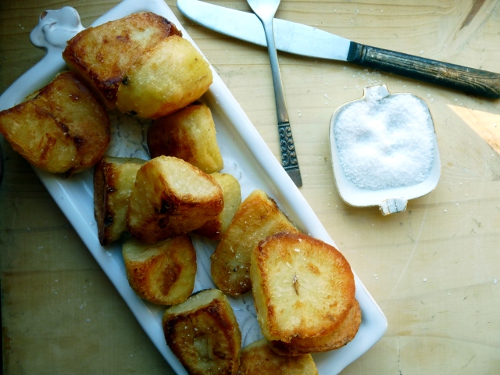
So, what makes a great roast potato? To me it must be fluffy on the inside and wonderfully crisp on the outside.

There are a few secrets I’ve discovered to really perfect roast potatoes:

> par-boil your potatoes for just a couple of minutes so they’re nice and fluffy before you begin.

> give them a vigorous shake as you drain them which will help the fluffiness, as will dusting them with a teaspoon or two of flour.

> make sure your oil or fat of choice is really, really hot before you pop the tats in the pan.

Taking inspiration from my friend Tyler, I’ve decided that cooking said tats in goose or duck fat adds a luxurious twist that is wholly appropriate for something like Christmas dinner. You don’t need it for great roasties, obviously, but it adds a blooming lovely depth of flavour. Lu-xu-ry.

I got more help on technique from Hugh Fearnley-Whittingstall and Angela Nilsen.

If all this seems like far too much fuss for a potato then you, my dear, have never had an outstanding roast potato. It’s a thing to truly be revered and adored. The things food dreams are made of.

Will you be having them with your Christmas dinner this year? Tell me your secrets to perfect spuds!

Perfect Roast Potatoes

Ingredients

  • 1 kg/ 2.2lbs potatoes (I recommend these UK varieties: Maris Piper, Cara, Kind Edward – and these American: Russet or Yukon Gold), peeled and cut into fairly small even-sized pieces
  • 100g/ 3.5oz duck or goose fat, or 100ml/3½fl oz olive oil (Clancey’s in Linden Hills is a great resource in Minneapolis)
  • 2 tsp flour
  • Sea salt, to serve

Directions

  1. Place an empty roasting tin in your oven and heat it to 200C/400F.
  2. Put your potatoes in a large pot and cover with water. Add a large pinch of salt and bring to a rolling boil. Once the water comes to a boil, reduce to a simmer and leave the potatoes for 2 minutes. While they are par-boiling, add your fat of choice to the roasting pan in the oven to get nice and hot.
  3. Drain the potatoes in a colander, shaking them around enough to fluff them up a bit and give them a rough texture. Add the flour and shake to cover evenly and thinly.
  4. Carefully place the potatoes in the roasting pan – the hot fat will sizzle intensely so watch out! – and turn them over so all sides are covered in fat. Spread them in a single layer, making sure they have plenty of room.
  5. Roast the potatoes for 15 minutes, then remove from the oven and turn over. Return to the oven for another 15 minutes, then turn them over again, each time making sure they are well coated with fat/oil. Put them back in the oven for another 10-20 mins, or however long it takes for them to get really golden brown and crisp. The colouring might not be even, but that’s fine. Some darker sides and some lighter are ideal.
  6. Remove from the oven, sprinkle with salt and serve straight away. Serves four, as part of a meal.

Note: If your potatoes seem too oily when you remove them from the oven, feel free to put them on a paper towel for a couple of minutes to soak up some moisture.
new york style bagels

October 24, 2011

Ladies and gentleman, I have your ticket to delicious breakfasts forever more. This is going to be a happy day.

I love me a bagel. I eat one several mornings a week for breakfast but local friends, let’s be honest, Minnesota is not the bagel mecca we might wish it to be. Sure there are a couple of places where you can get an alright bagel but you taste one from New York in comparison, and it’s a sad realization…no competition.

So, what makes a good bagel? I asked my friends (none of whom are experts, all of whom love bagels) when we got together and here’s what we collectively came up with: a good bagel has a light crunch as you bite in that needs to combine with a soft, chewy interior.

That softness shouldn’t be too soft though, nor bread-like which seems to often happen. Rather the bagel should be chewy in an easy soft way; texture was easily the most important aspect to us and there’s a fine line between too chewy and too soft. In terms of flavour, salt is important and a subtle malt flavour is essential.

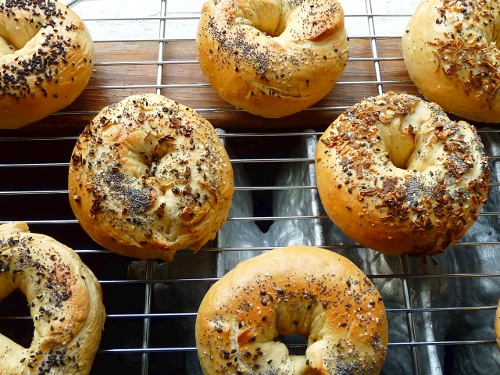
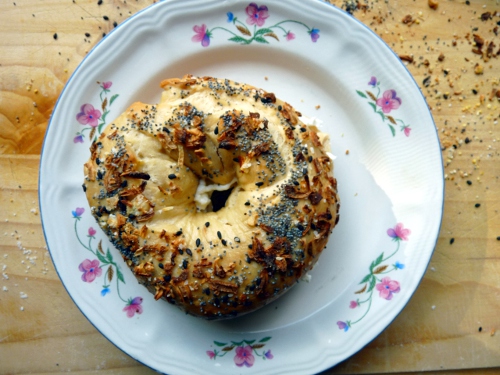
Guess what? These bagels you see in front of you? Spot on. We loved them, raved about them, and devoured the whole batch in minutes.

I’m not sure what I’ve been doing all these years waiting for our store bought bagels to be excellent. I want – and really hope (someone hold me to it) – to make bagels from scratch every weekend and have them fresh for the week.

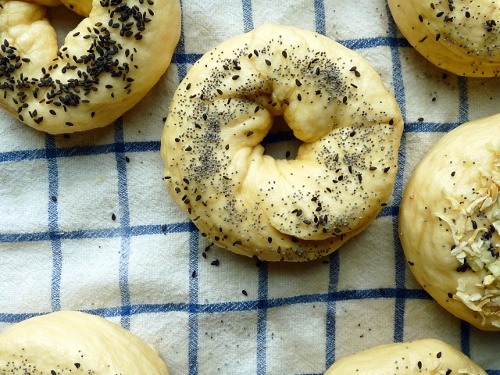
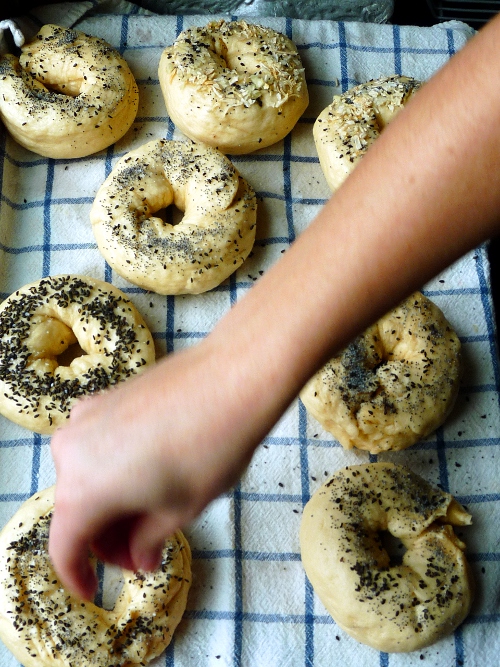
These have a light crispy crunch as you bite in (from their dip in the simmering malt water), a soft but chewy dough, and amazing flavour – and that’s before our toppings. We made poppy seed, black sesame seed, and everything bagels (my all-time fave: garlic, dried onion flakes, poppy seeds, sea salt). Bam! Who wants to come over for brunch?

New York Style Bagels
adapted from CD Kitchen, makes 8 bagels

Ingredients

For the Dough

  • 1 1/2 cup warm water (110 to 115 degrees F)
  • 1 tablespoon dry active yeast
  • 1 tablespoon sugar
  • 1 tablespoon vegetable oil
  • 2 teaspoons malt syrup
  • 2 teaspoons salt
  • 4 1/2 cups unbleached bread flour (more if needed)

For the Kettle Water

  • 6 quarts water
  • 2 tablespoons malt syrup or powder
  • 1 teaspoon salt

Toppings (optional)

  • sesame seeds
  • poppy seeds
  • minced fresh garlic
  • minced fresh onion/dried onion flakes
  • caraway seeds
  • coarse salt
  • corn meal for sprinkling baking sheets

Directions

  1. In a large mixing bowl, stir together the water, yeast, and sugar. Let stand for 5 minutes.
  2. With a wooden spoon, stir in the oil, malt and one cup of the flour. Add salt, then enough of remaining flour to make a stiff dough.
  3. On a lightly floured surface, knead the dough for 10 to 12 minutes. <Enter excellent arm workout!> Cover with a floured dish towel and allow dough to rest on a board for about 15 minutes.
  4. Divide the dough into 8 sections and form each section into 10-inch long strips with your hands. Roll the ends together to seal and make a ring. Place on a lightly floured surface, cover, and let bagels rest 15 to 20 minutes. They should rise about halfway and becoming slightly puffy.
  5. Meanwhile, fill a large cooking pot or Dutch oven three quarters full with water. Add the malt syrup and salt.
  6. Bring water to a boil. Preheat oven to 450F. Line two large baking sheets with baking parchment and sprinkle generously with corn meal. Set aside.
  7. Line two other baking sheets/other surface with a kitchen towel, set near your stove. Reduce boiling water to a simmer and cook 2 bagels at a time (don’t crowd the pot). Simmer bagels for about 45 seconds on one side, then turn and cook other side for another 45 seconds. Remove and drain the bagels on the towel-lined baking sheet.
  8. Carefully place bagels on the parchment-lined, cornmeal-dusted baking sheets. Bake bagels plain or sprinkle with a topping of your choice. Place in the hot oven, immediately reduce heat to 425F, and bake about 17 to 25 minutes. When almost baked, turn bagels over (a pair of tongs will do the job easily). Transfer bagels to wire rack to cool.

Note:

These freeze well, which helps to retain a just-baked taste, if they aren’t all eaten on the first day. To freeze, slice cooled bagels first, place a small strip of plastic between the bagel halves and place in a plastic self-sealing freezer bag. When you’re ready for a bagel, they’ll come apart easily, ready to pop into the toaster and enjoy.

this week i… {part vi}

October 14, 2011

{photo from Flickr}

1. Got stuck in Helena airport after my plane broke down and ended up trying to get home for 15 hours. Not my favourite.

2. Ate half a rack of ribs in approximately 4 minutes flat.

3. Was inspired by Olivia’s travels and especially the food styling and photography workshop she took part in in Dordogne. Sigh face.

4. Decided that chocolate mousse needs to happen. Soon.

5. Got mightily engrossed in The Last Werewolf {for our next book club!}…so unexpected and so…awesome

6. Welcomed the return of hot oatmeal.

7. Had book club at my house and decided (to no-one’s surprise) to go with a full-on cheese fest. {If you need help creating the perfect cheese plate this handy guide from Joanna Goddard is pretty awesome.}

8. Officially started a really fun new writing venture contributing restaurant reviews to Twin Cities Metromix. My first review (on newly opened Pat’s Tap) is now live!

Read Part I, Part II, Part III, Part IV, and Part V.